
Military Grade Planning for Backpacking
During my time in the military, we would often be drilled with the saying, “Prior planning prevents poor performance.” One of the frameworks for planning operations at a tactical level was a process known by the acronym GSMEAC, often pronounced “gee-smee-ack.” This acronym is short for Ground, Situation, Mission, Execution, Administration, and Command and Control. For backpacking, I have added “Season” as another “S” alongside the situation.
The acronym provides the tactical unit commander with a structure to methodically work through any mission that is in front of him and think about all the necessary parts that need to come together in a logical order to make the mission as successful as possible.

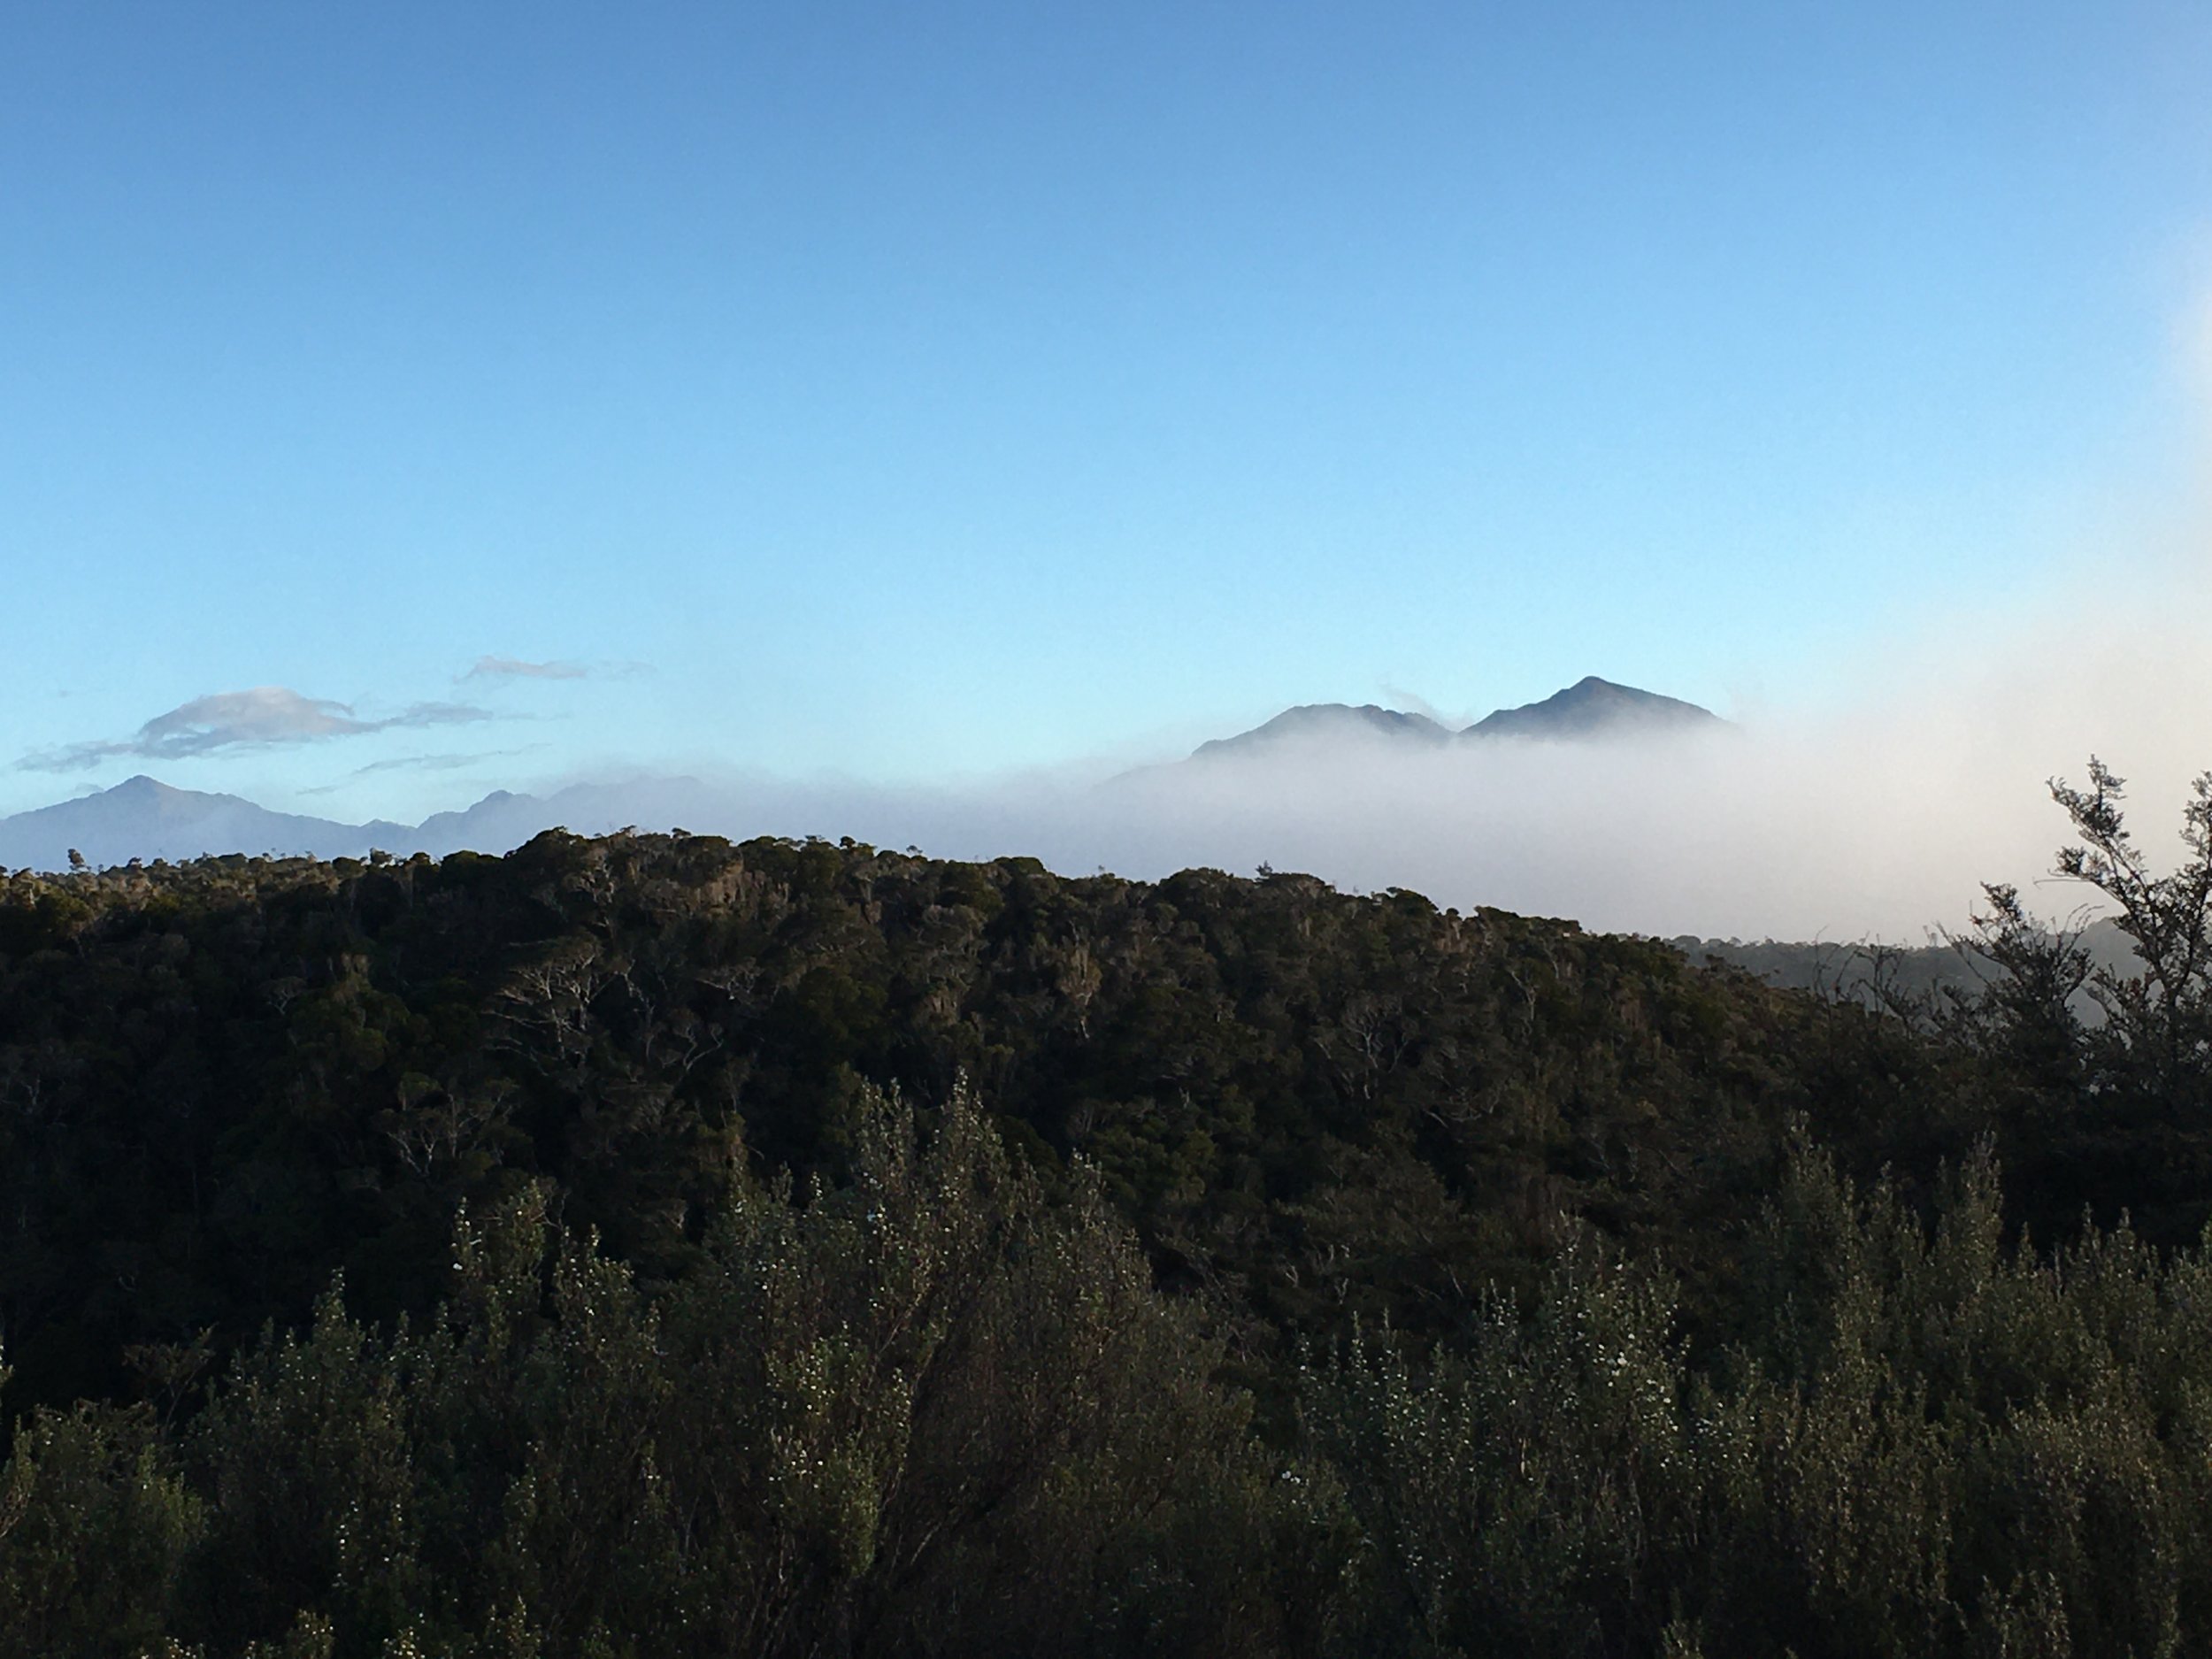
Image courtesy of Hendrik Morkel @hendrikmorkel
Note to the Reader:
This article is a result of my conversation with Paul for Episode 145 of The By Land Podcast where Paul lays out an amazing framework for how he plans his own backpacking trips. We also discuss his background and younger years, time spent hiking to Annapurna Base Camp, getting to know backpacking again after many years away, and finally, we cover why it’s so important to do what’s right for you and your situation in the backcountry (aka the ultra-right backpacking reference).
You can listen to this episode with Paul through the audio block at the top of this page.
Show Notes
Getting to know Paul
Paul’s Annapurna base camp hike
A personal approach to journaling
Getting back into backpacking after years away
Parenting and getting kids outdoors at a young age
Advice for getting started again
How Paul plans his trips (AMAZING structure!)
The ultra-right backpacking philosophy
Tent choice/design discussion
Food and nutrition lessons learned
Planning for the team, not the dream
Estimating travel time
GSMEAC For Backpackers
This same GSMEAC planning process the military uses for mission planning can be applied to backpacking planning for your next backpacking trip whether it is small, big, or a thru-hike. Pausing for a minute, my suggestion is that with longer trips you may want to break the big trip into smaller manageable chunks and plan for each segment in its own right going through the whole process flow as different sections may require gear changes due to the ground/situation/season that you will be in.
On a shorter trip 4-5 or even up to 10 days you can probably take the terrain as one block. However, consider larger trips in logical blocks where possible. What should a block size be? Well, it needs to be something that you can hold in your head as a unit when diving into the lower sections.
If you keep oscillating across areas for questions and decision-making, consider a pause and going back to break up the terrain into a manageable piece so you can deal with them individually. A good example on a long thru is treating the High Sierra on the Pacific Crest Trail as a logical block as the terrain will drive a set of planning questions and decisions that involve weather, pace, gear, and food logistics different from the other sections. However, don’t overboil this block-setting idea as you can get into analysis paralysis. The framework is a guide and should assist you to get out on the trail with the stuff you need to safely execute the mission.
Start from the top with GROUND then move through the acronym in a linear fashion as the lower sections generally build on the section that you have already gone through. Thinking and decisions from one section will both inform the questions and direct the planning that you will make in that new section.
We will dive into the framework and the some of questions that you could and/or should be asking yourself in each section/process step (add your own questions and make this planning process your own).
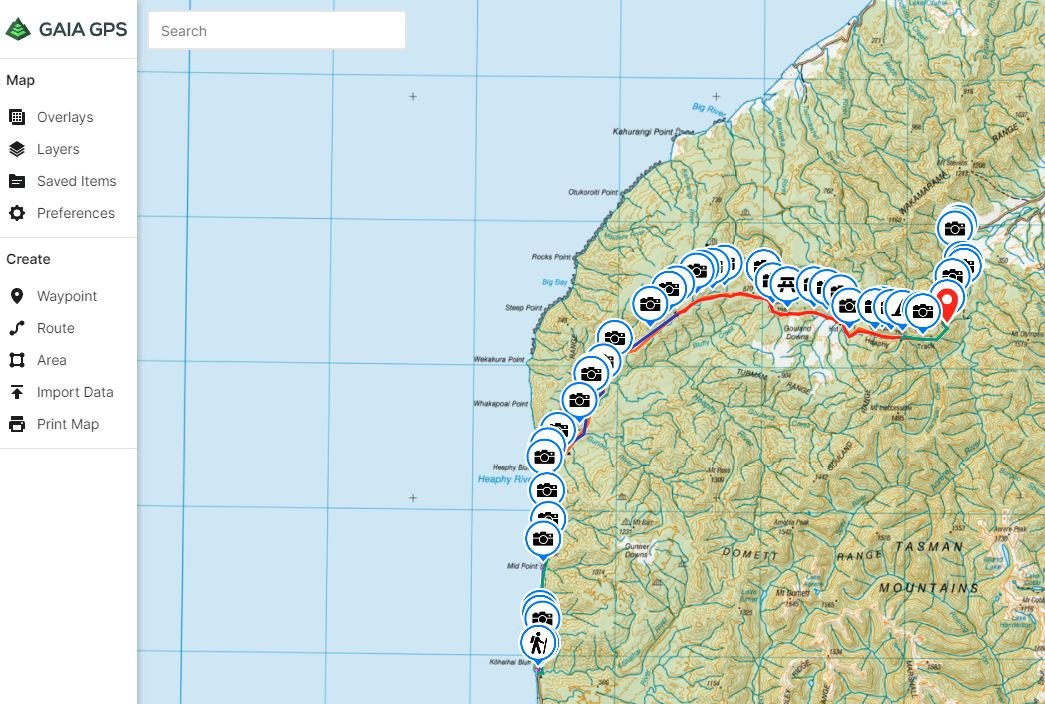
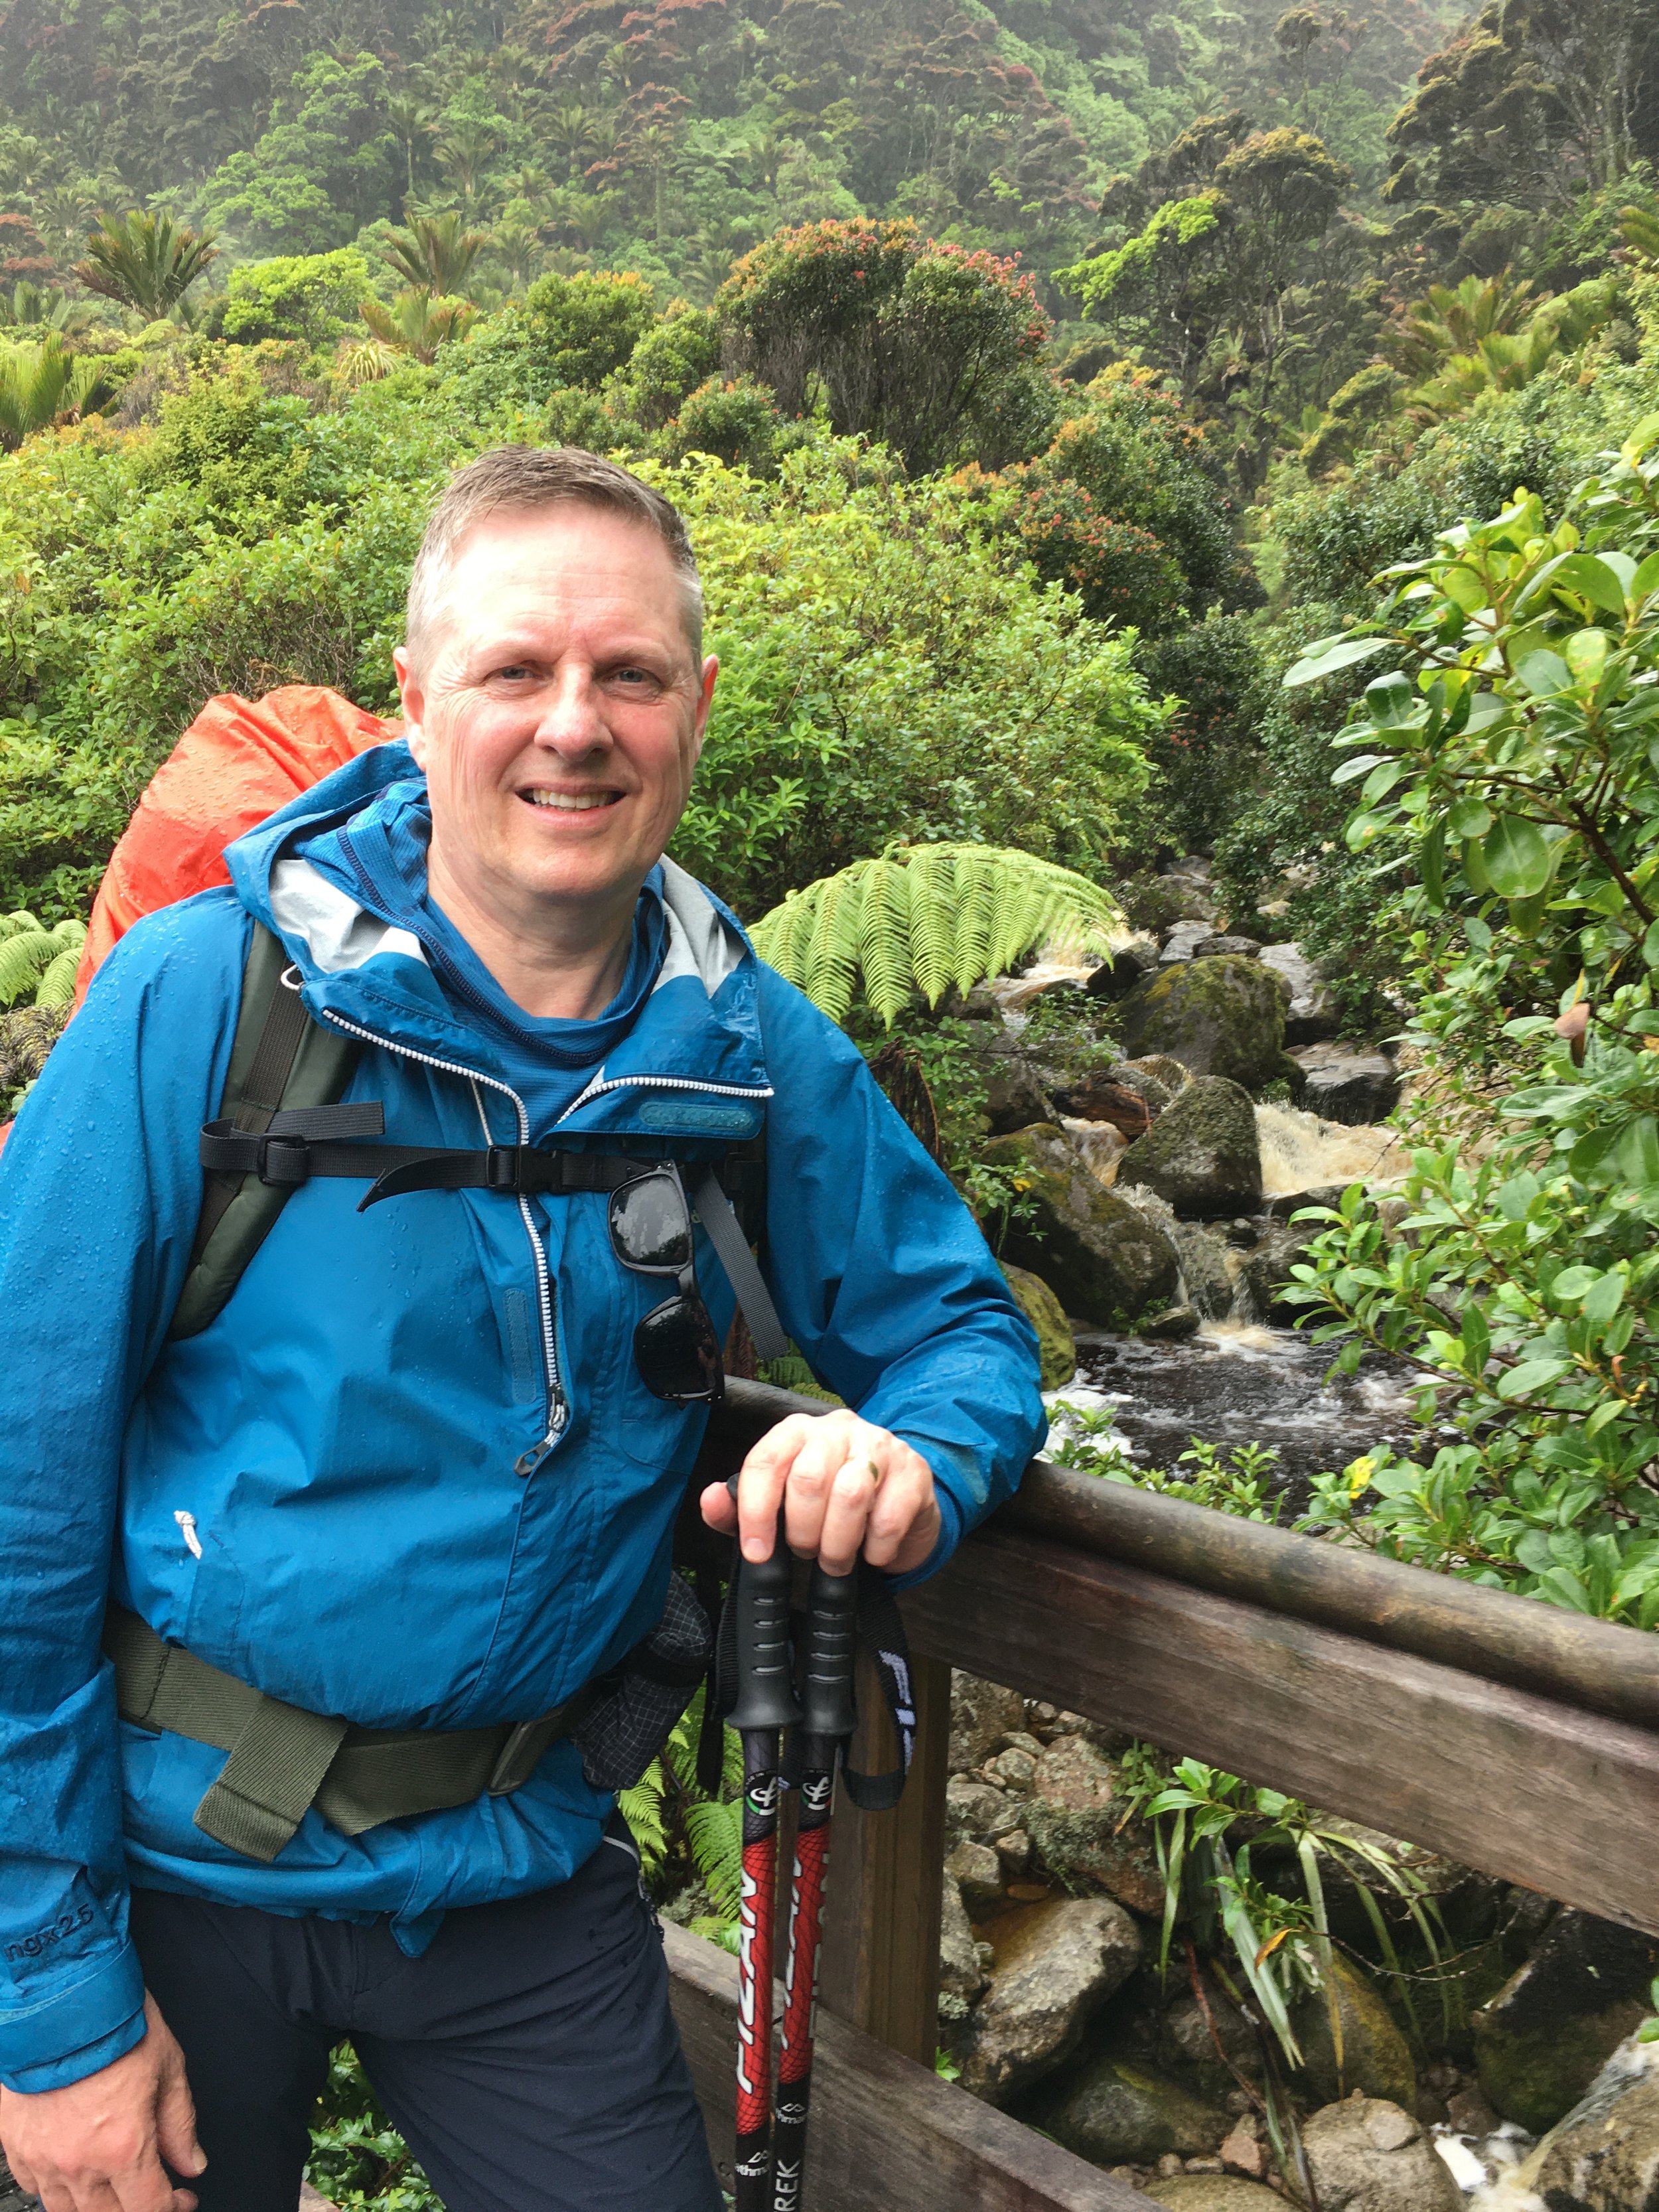
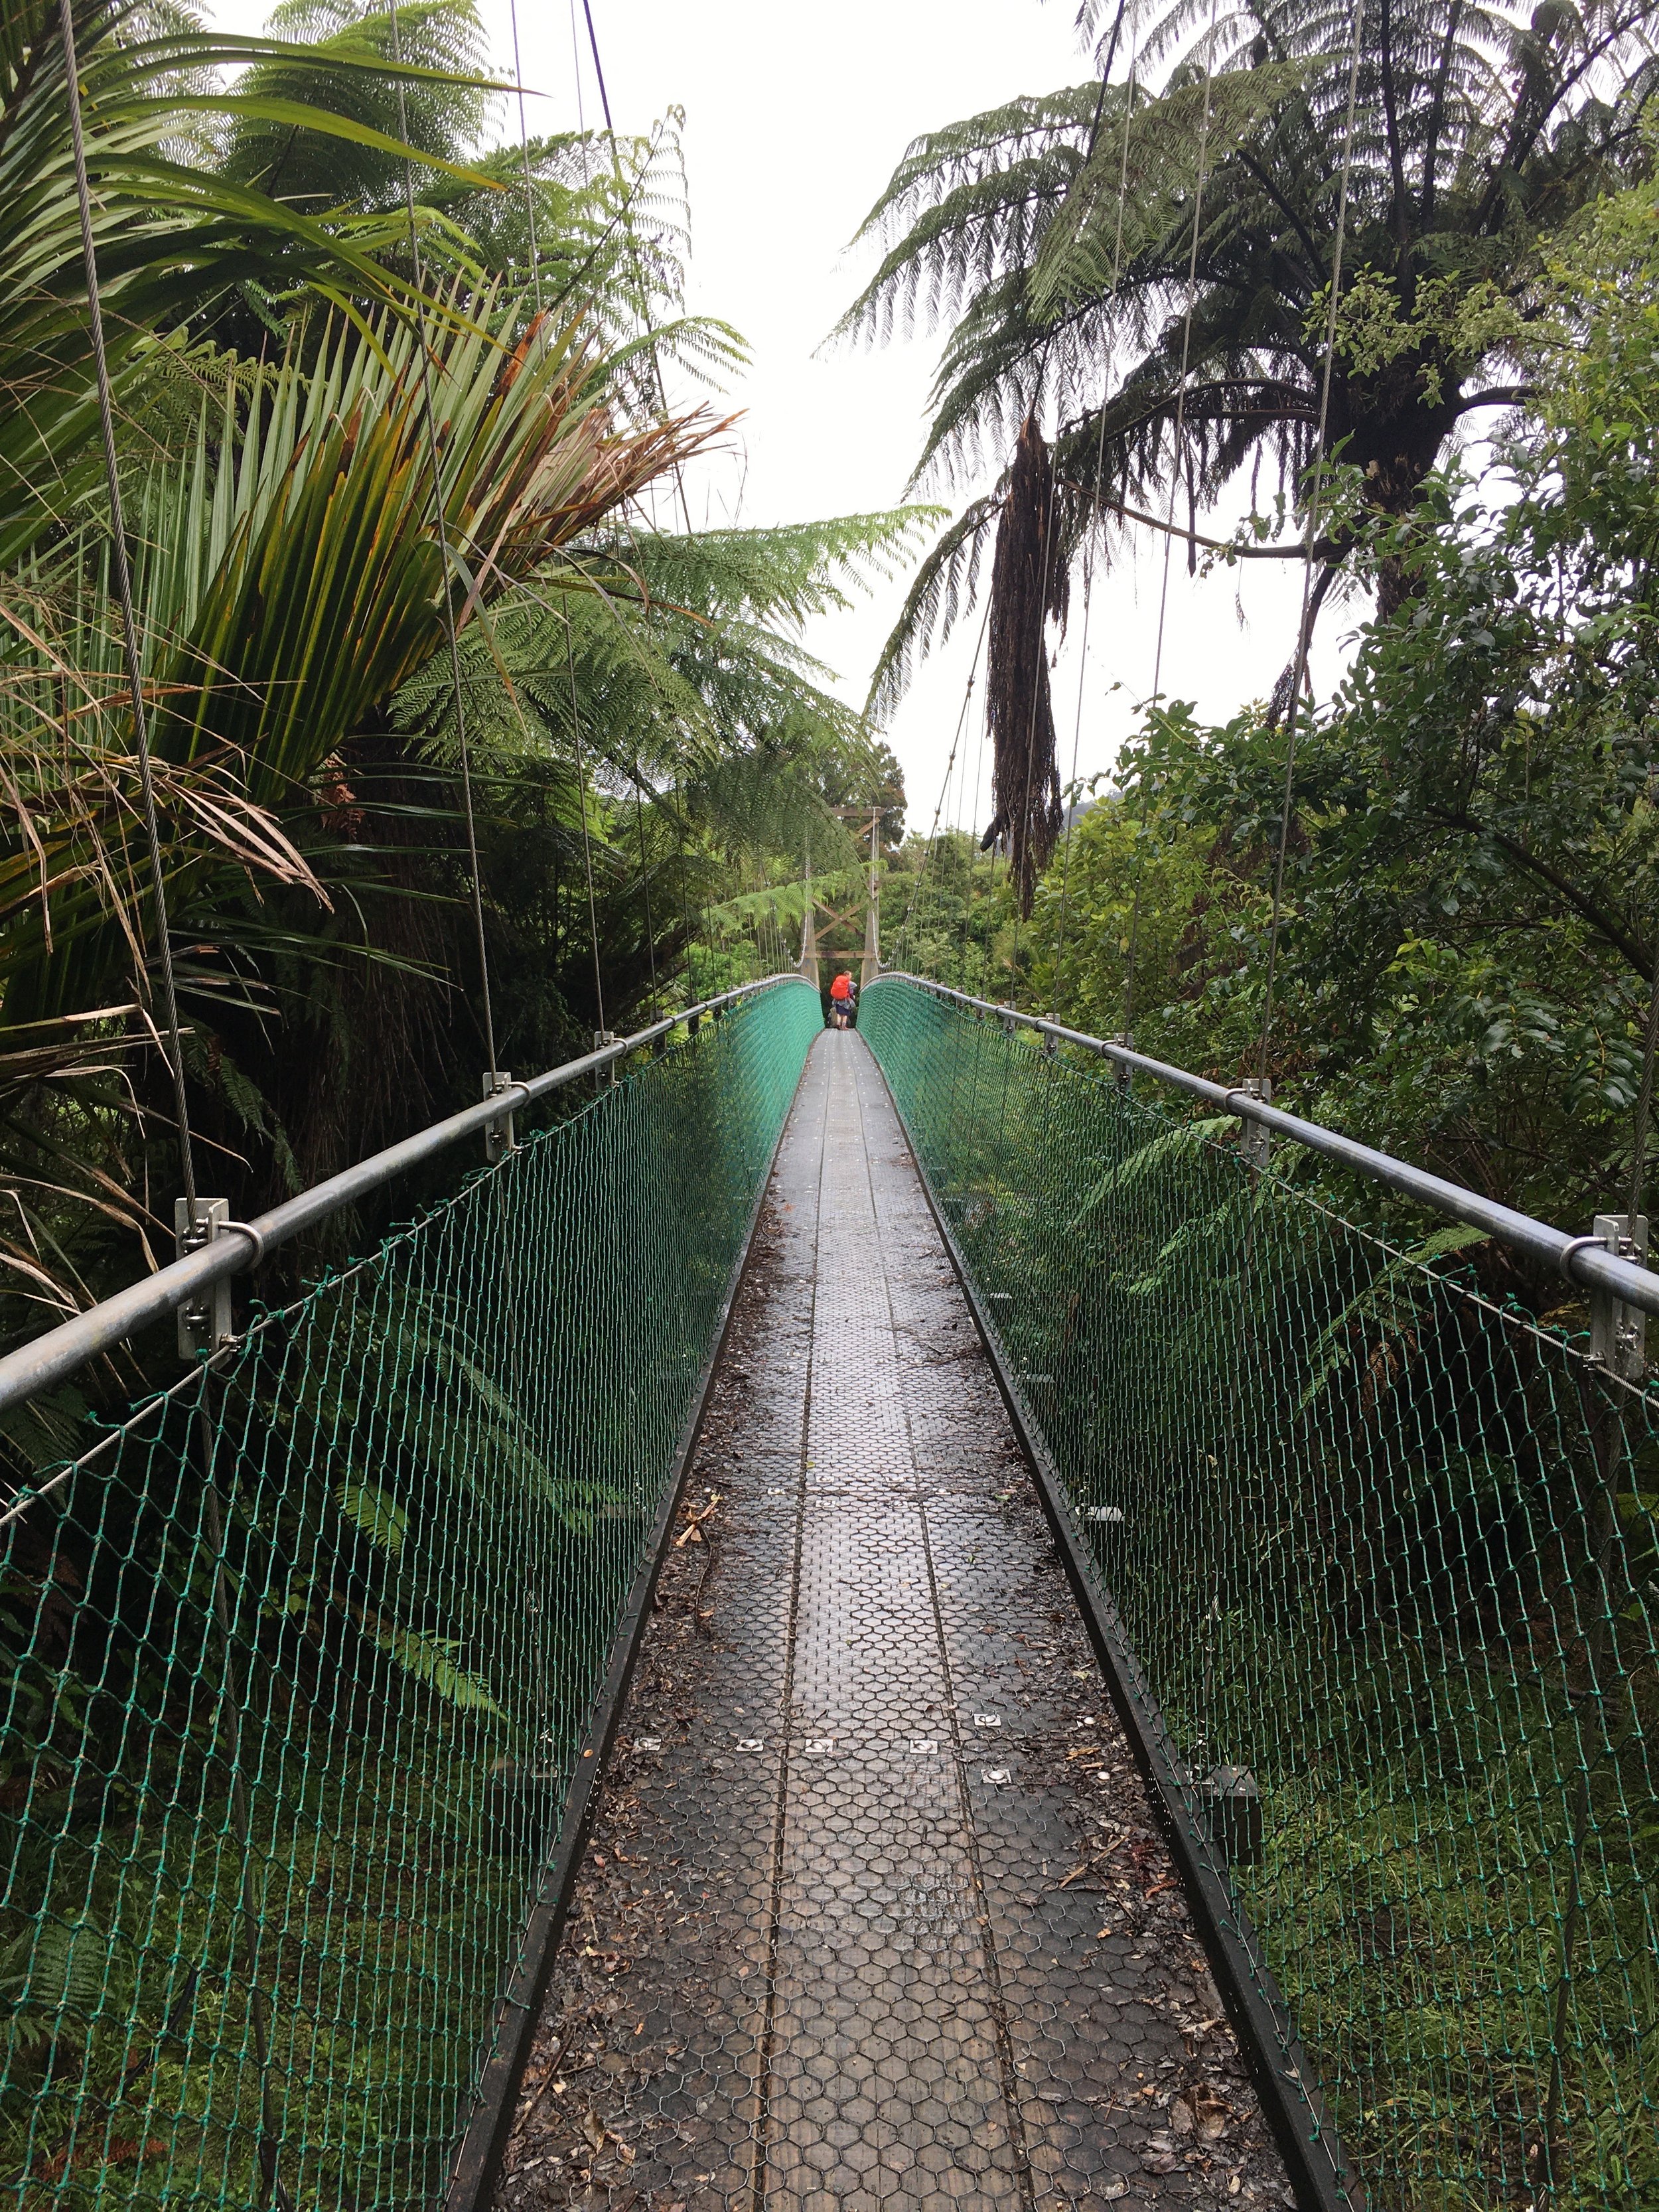
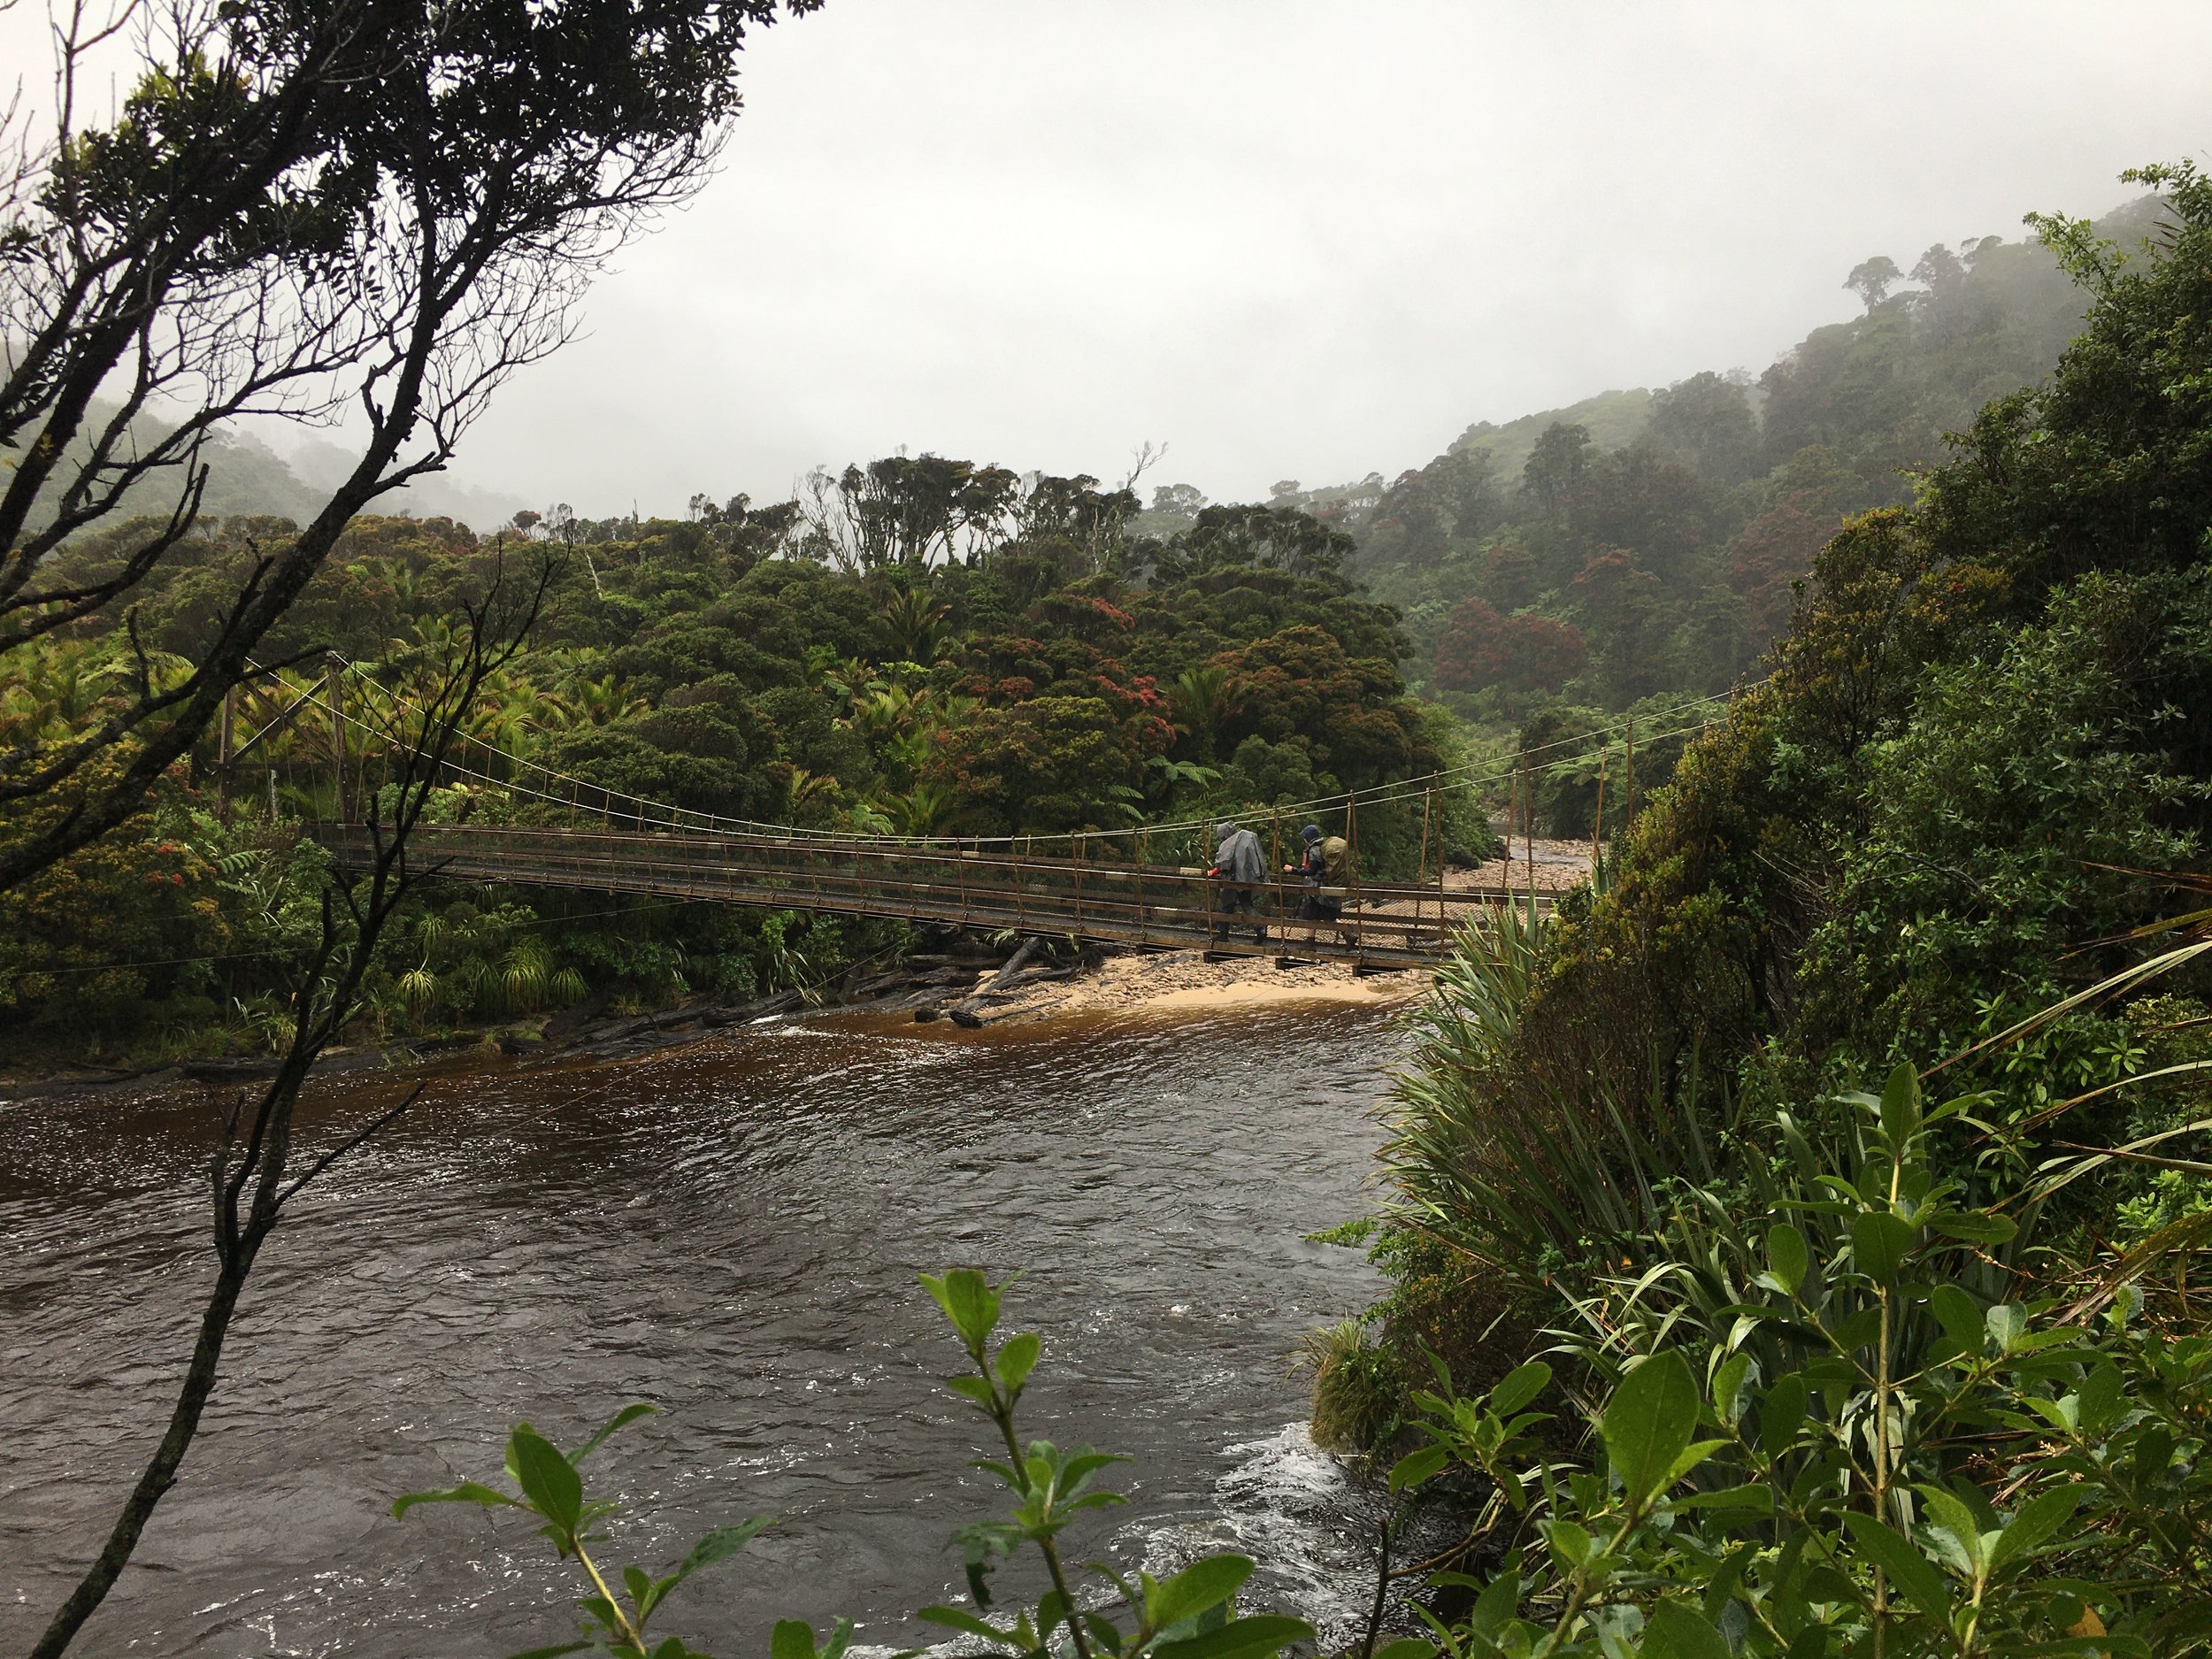
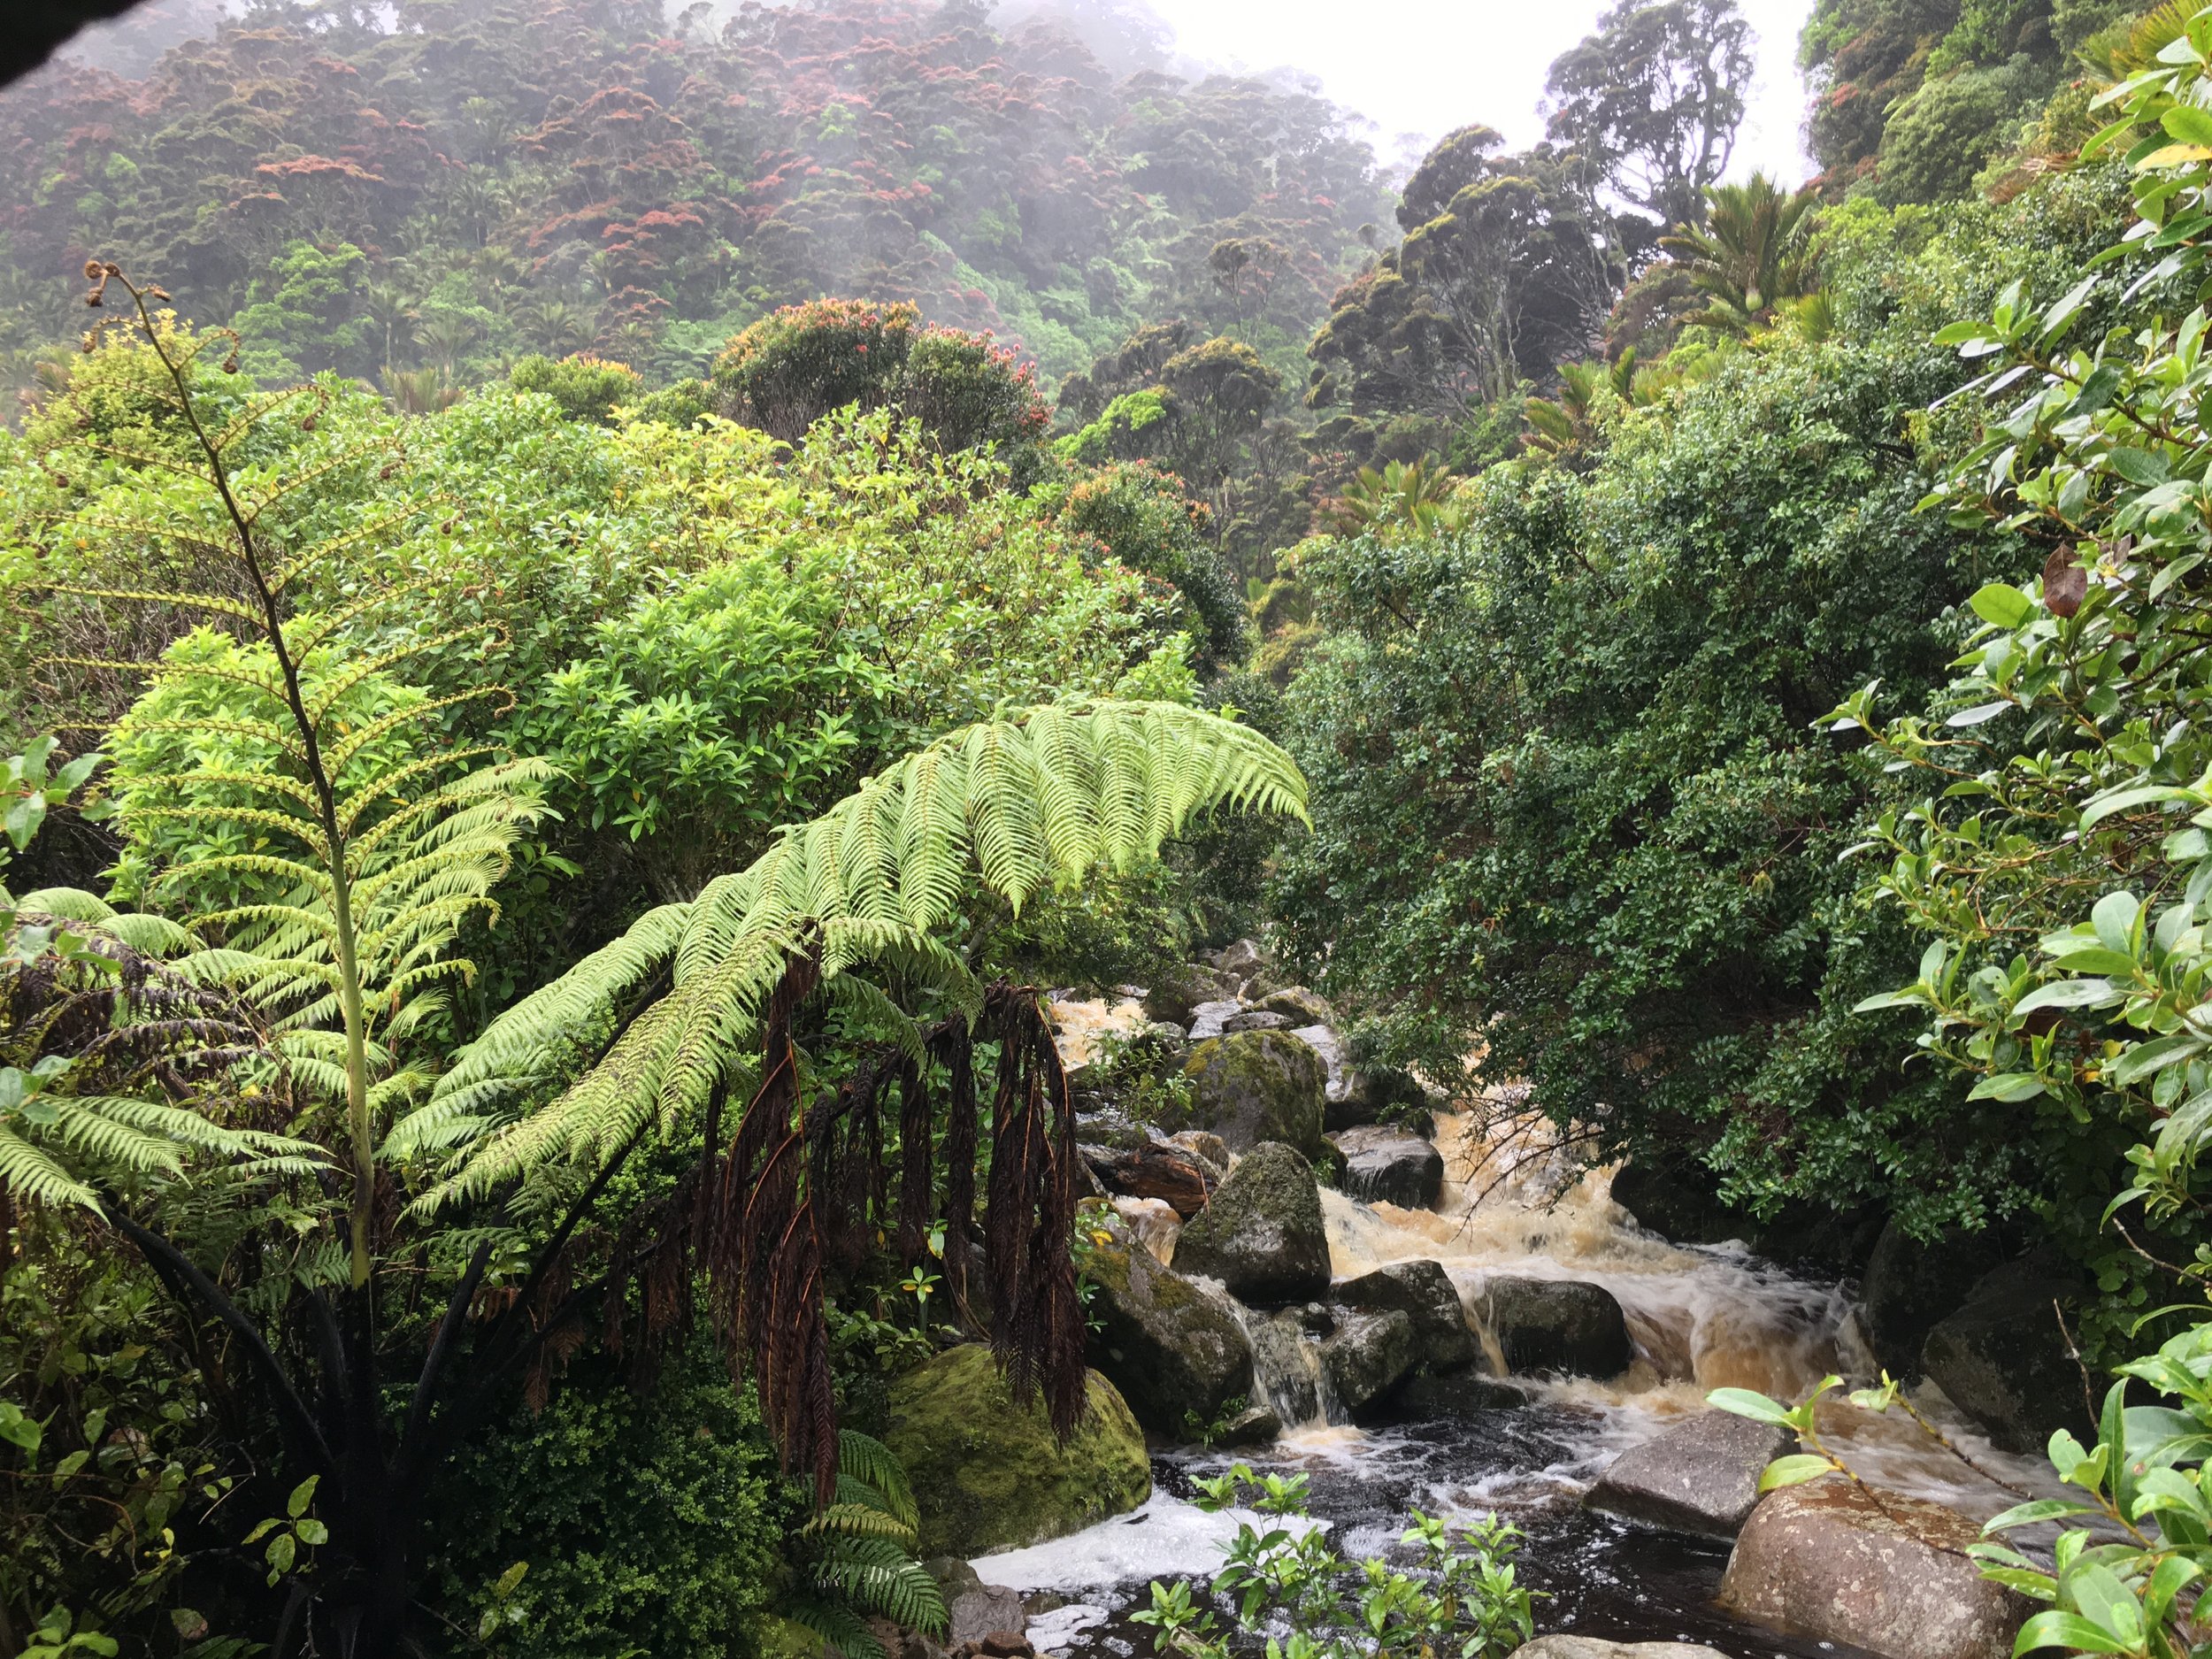
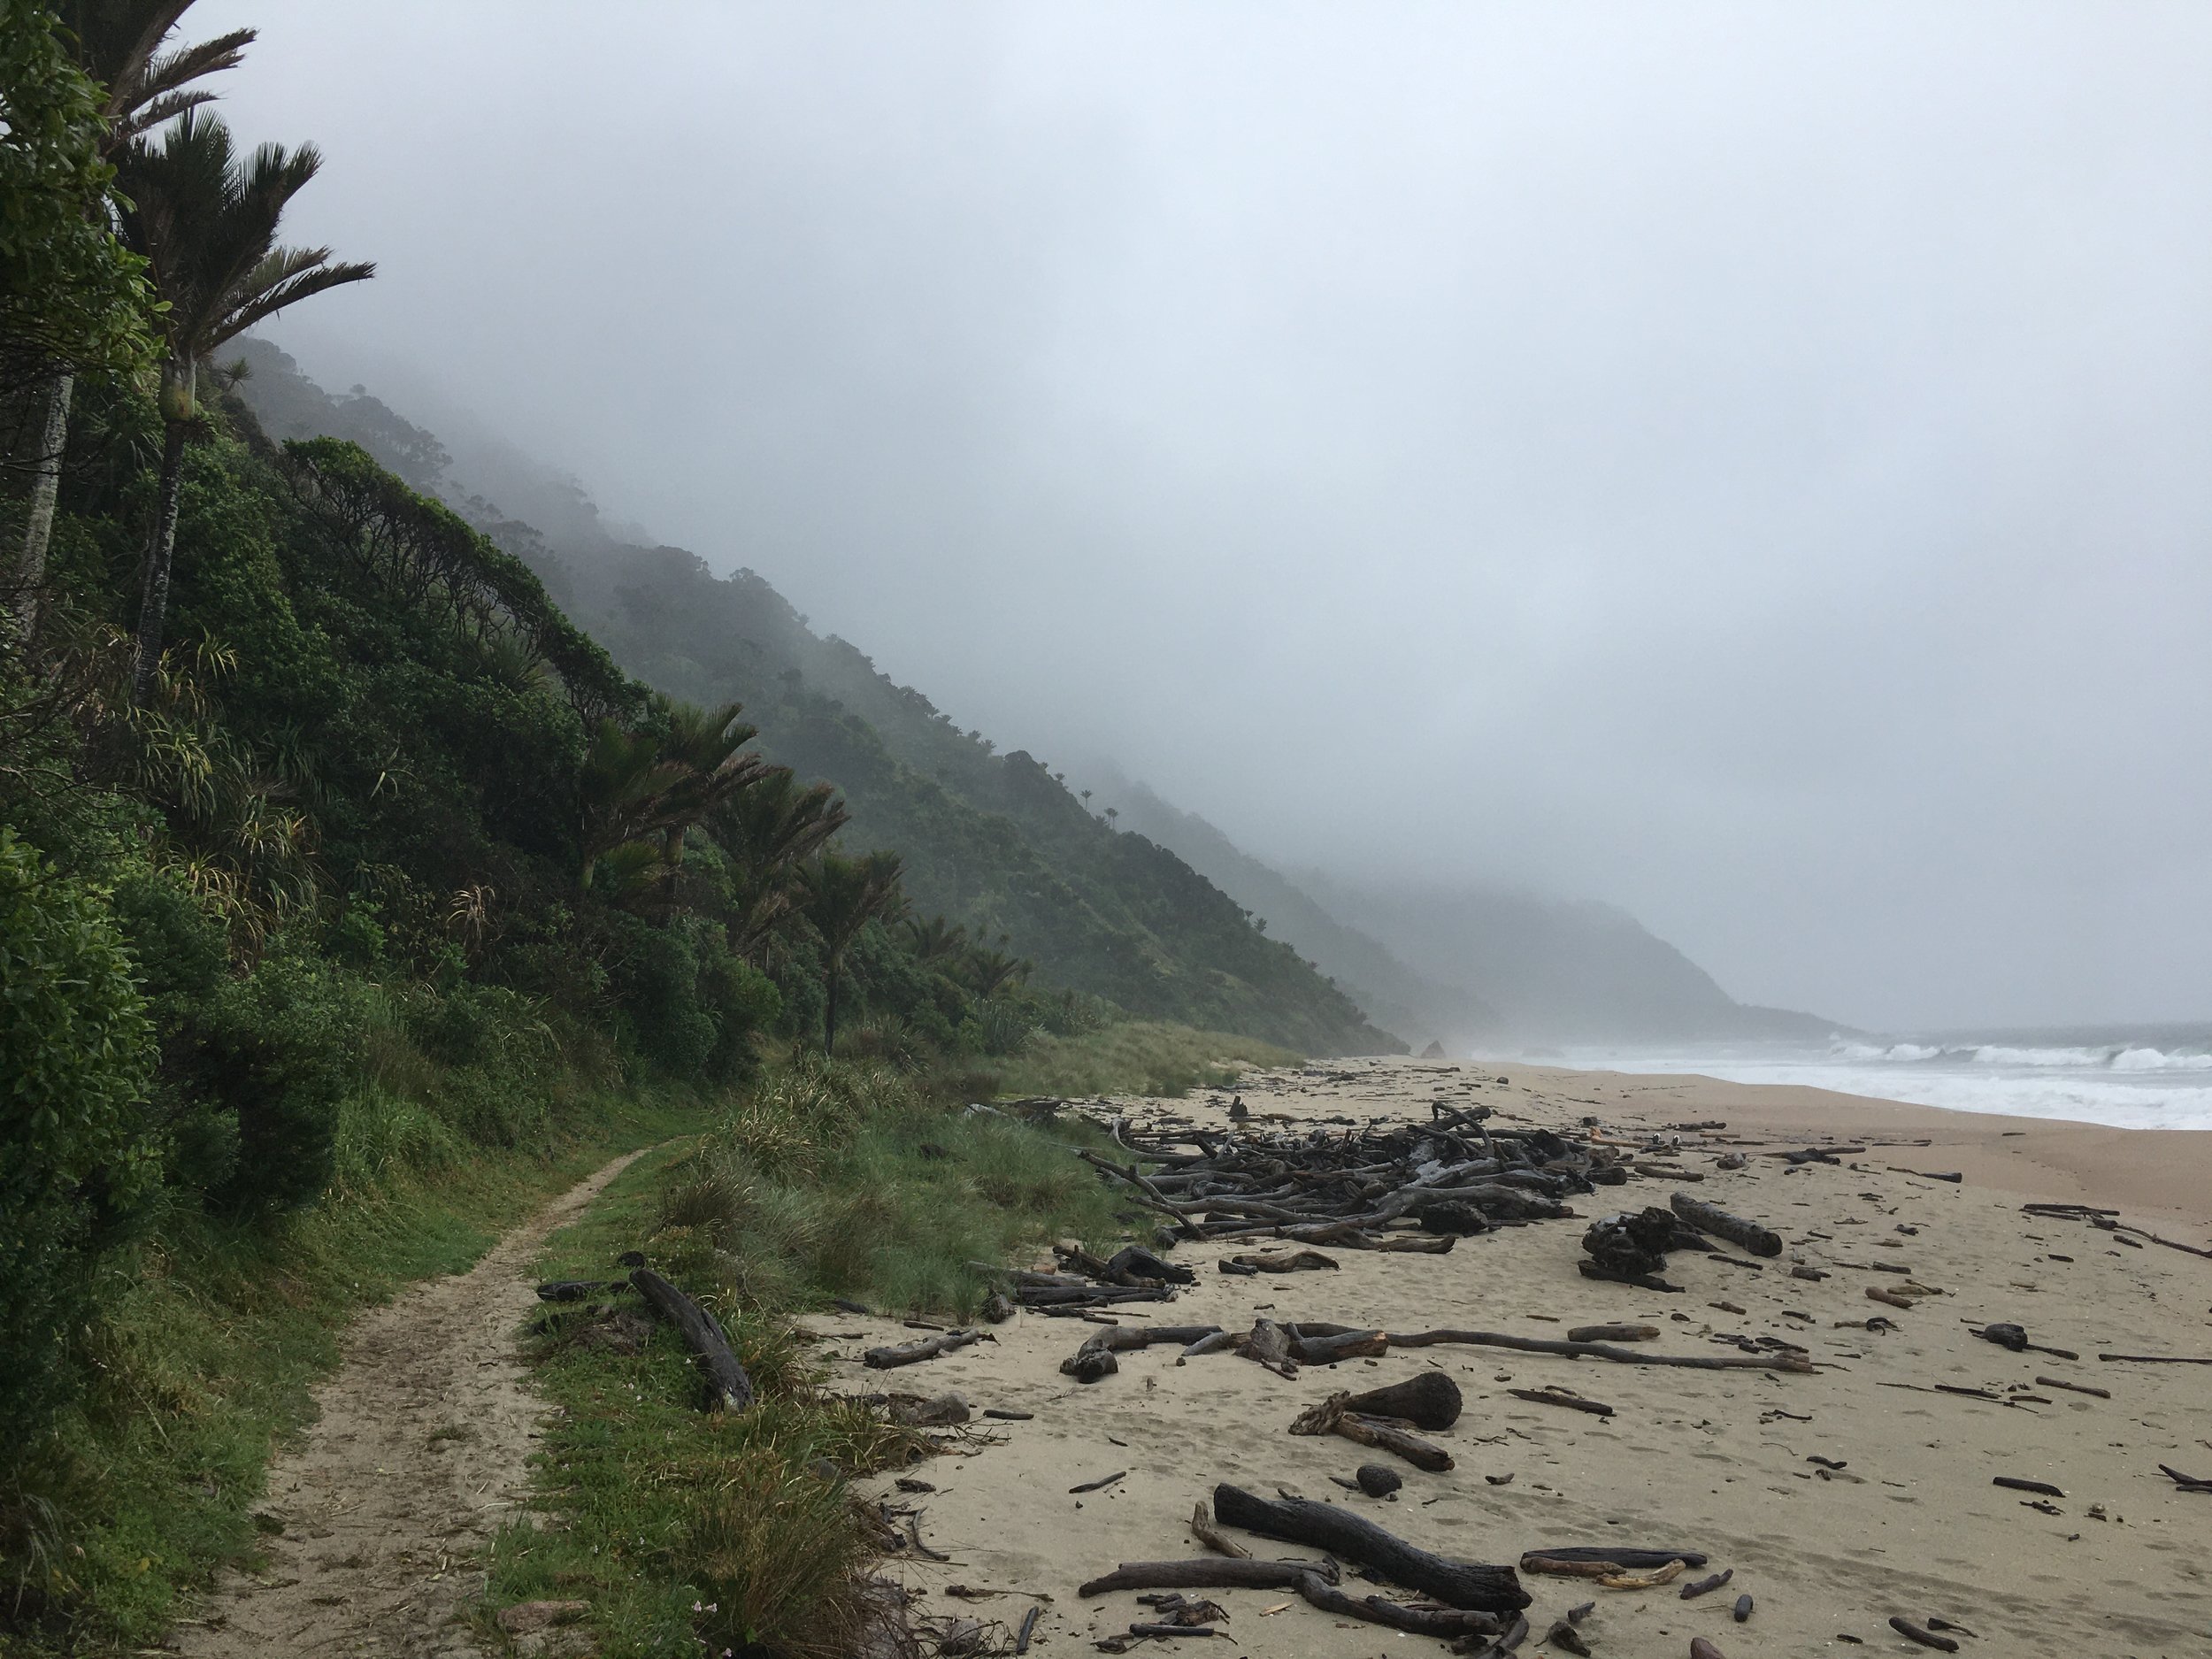
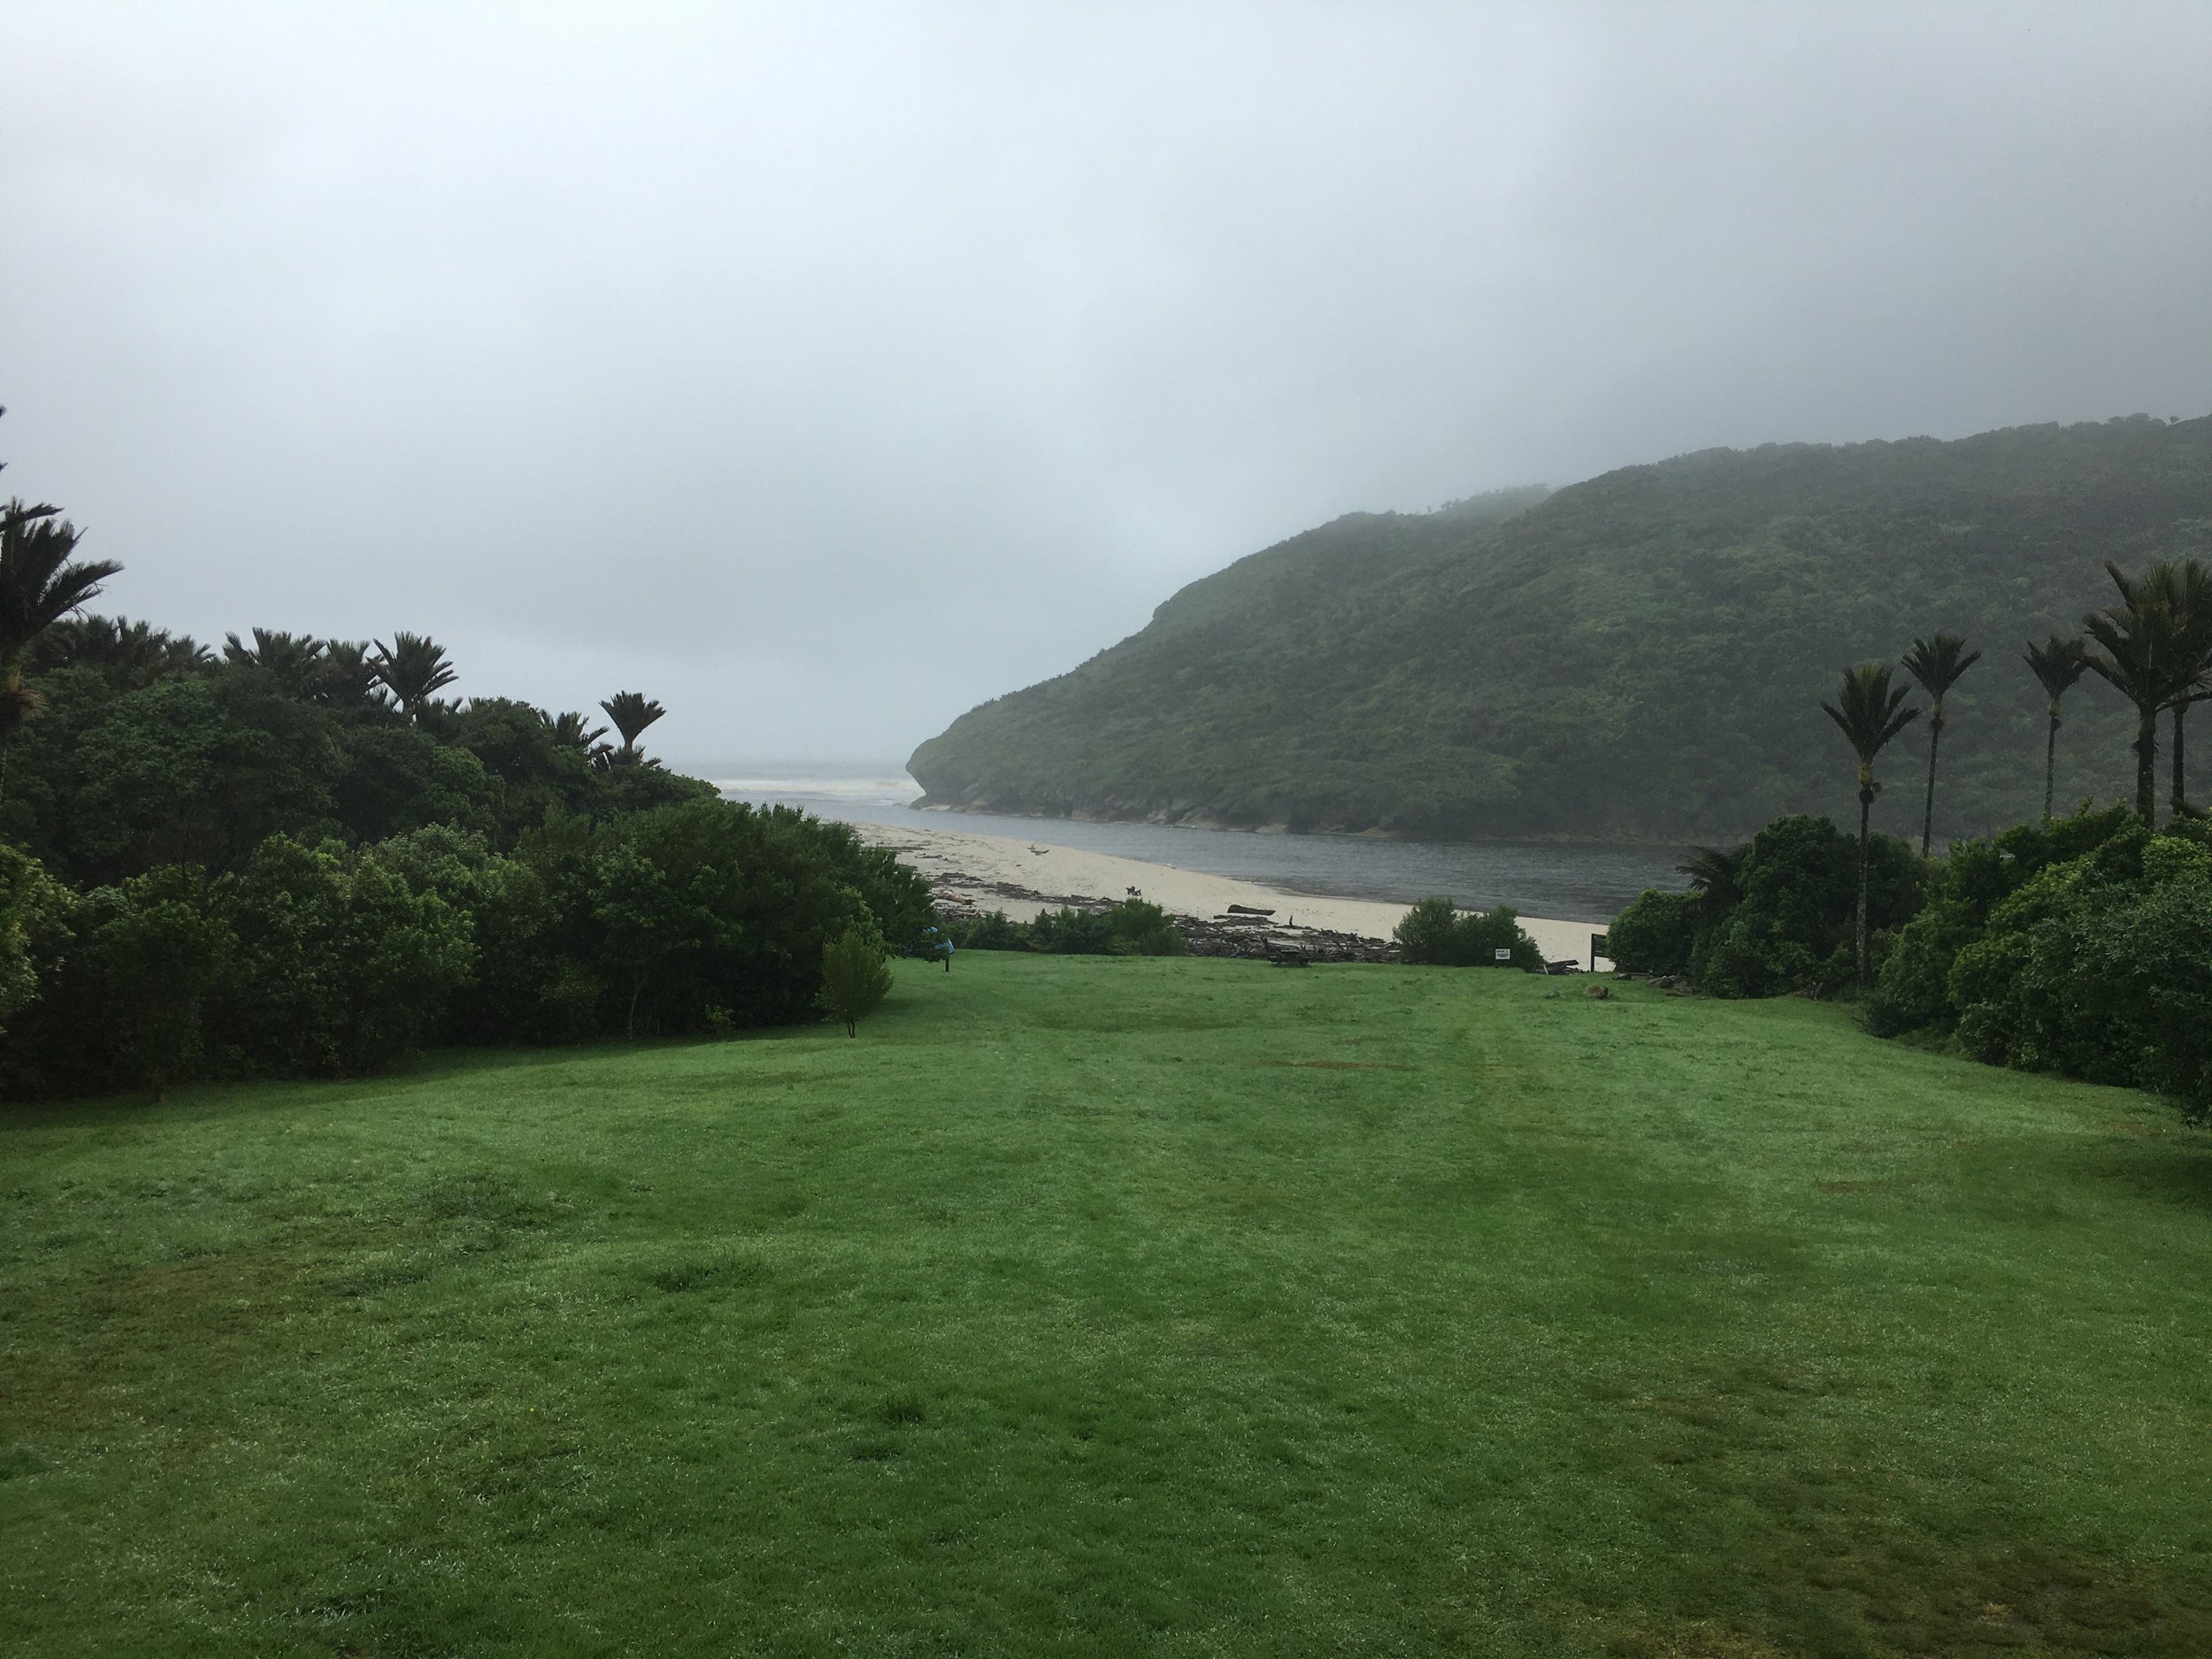
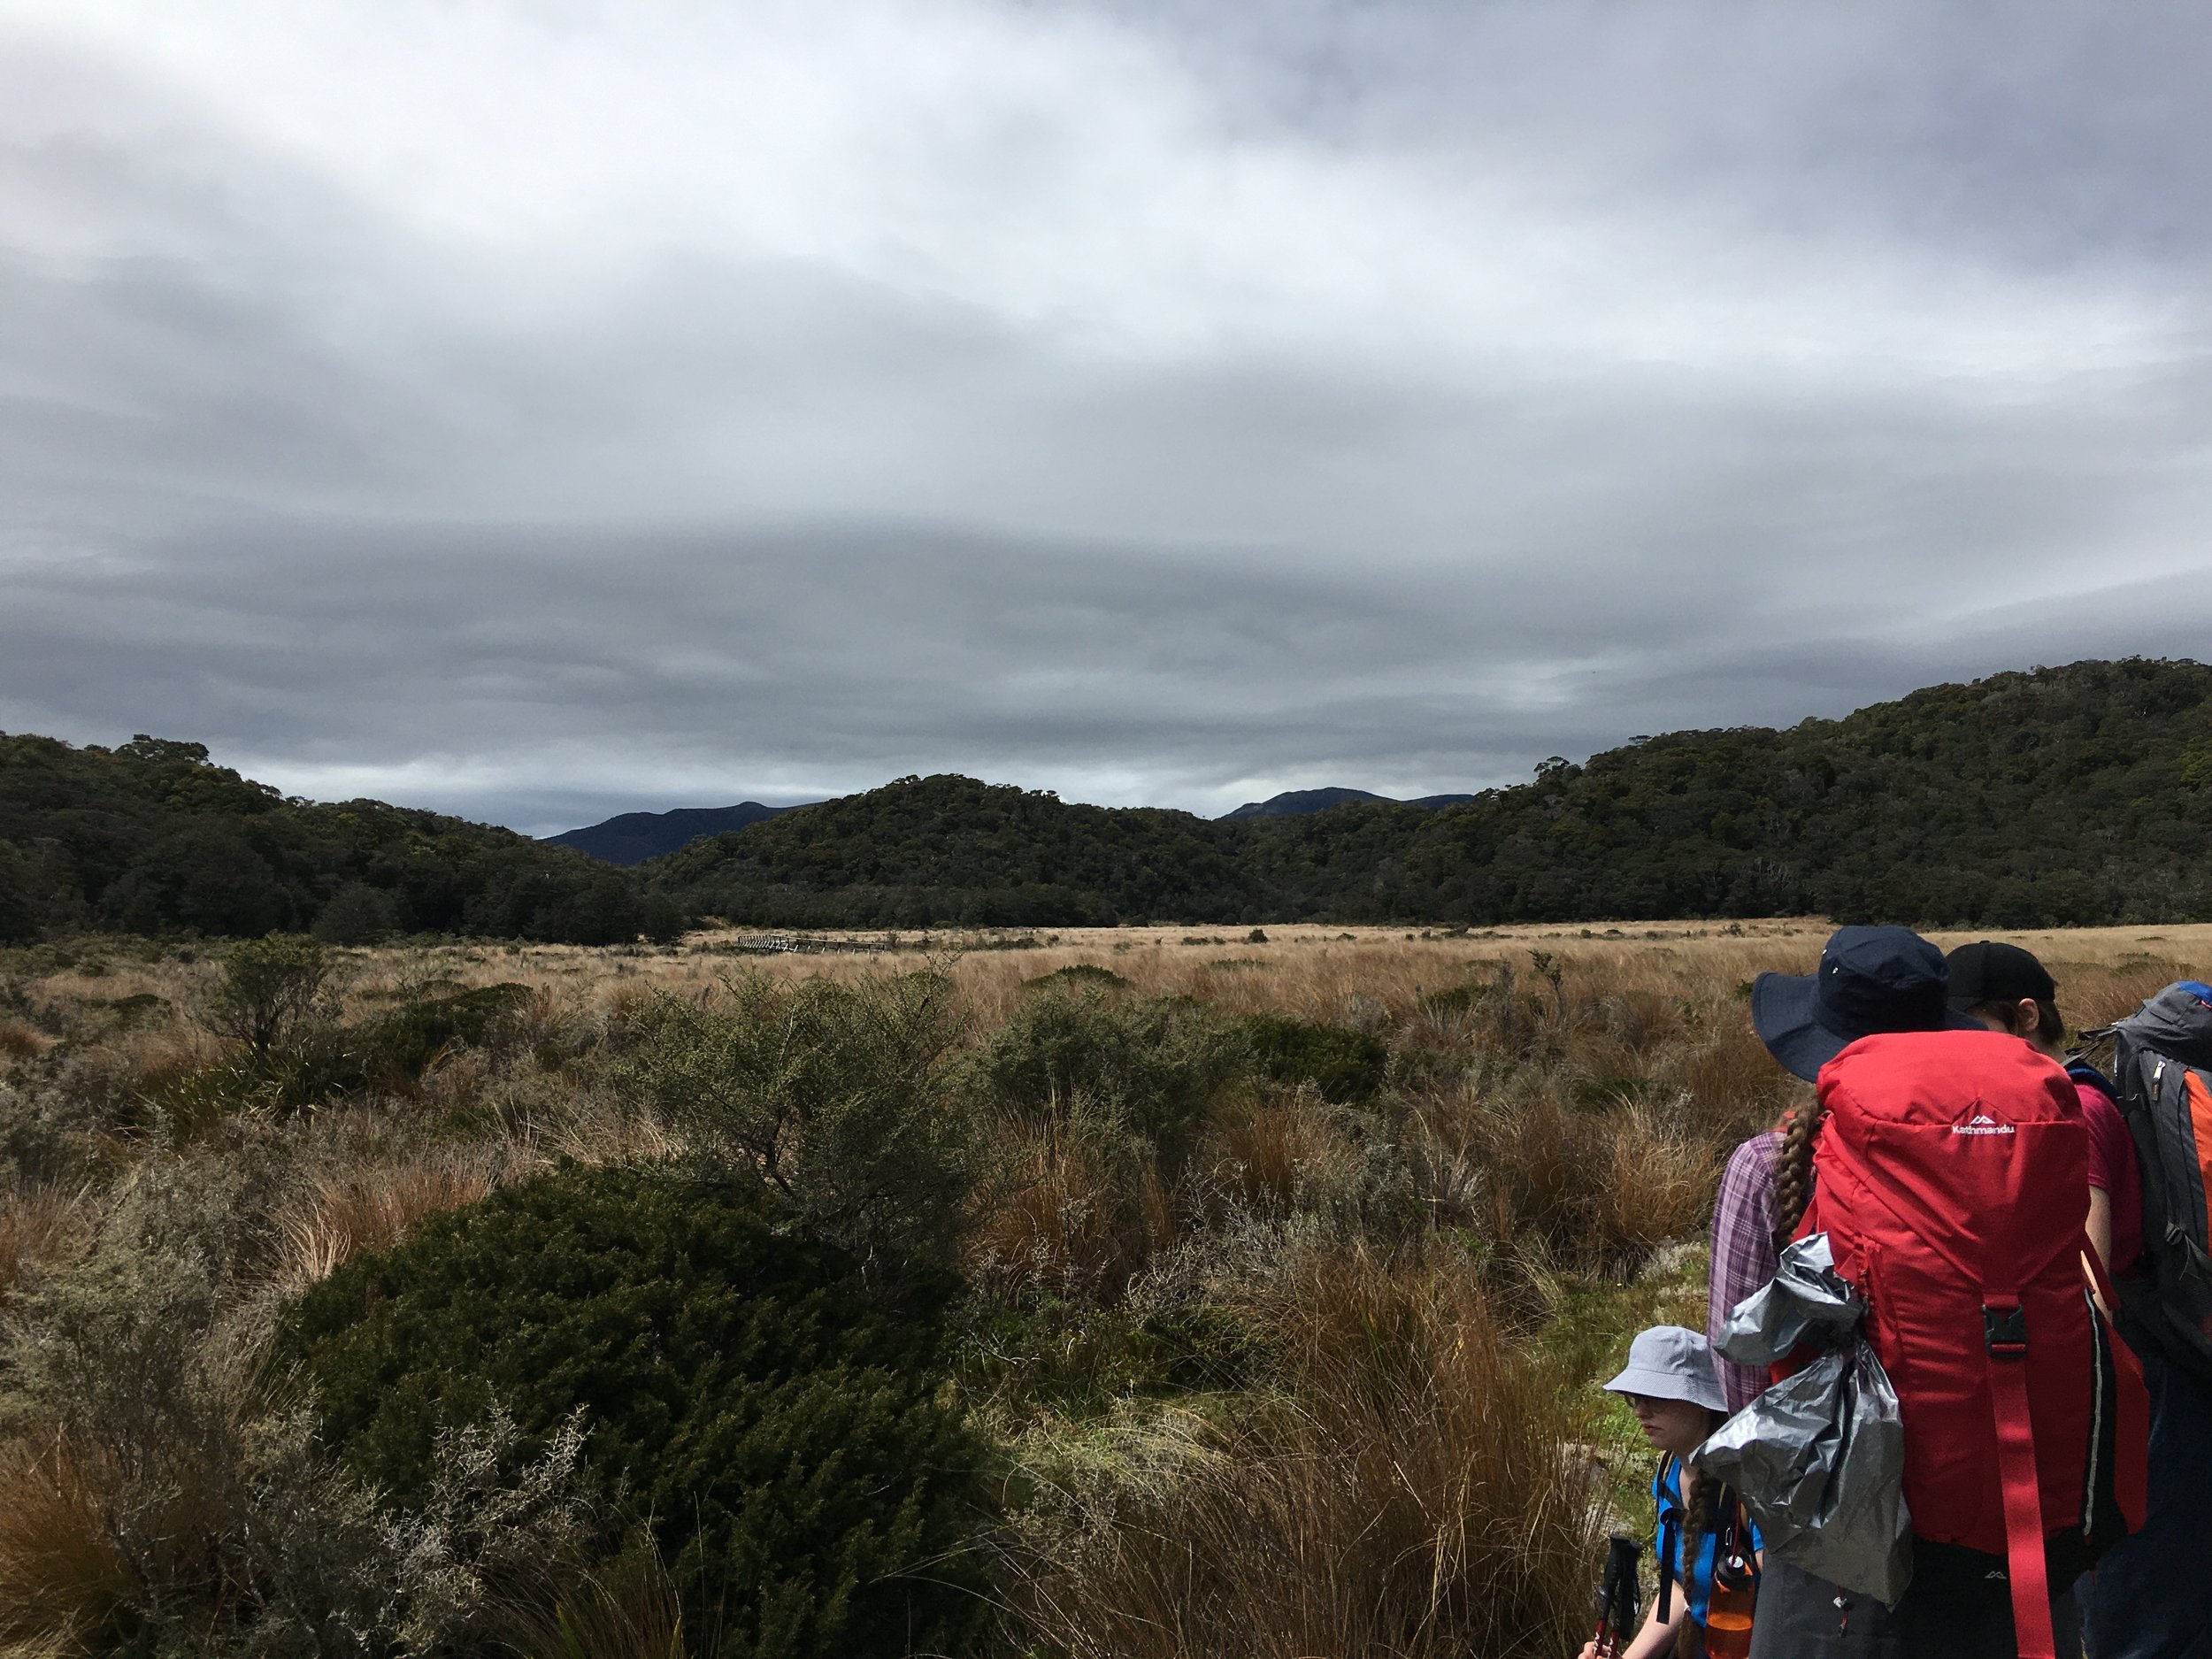
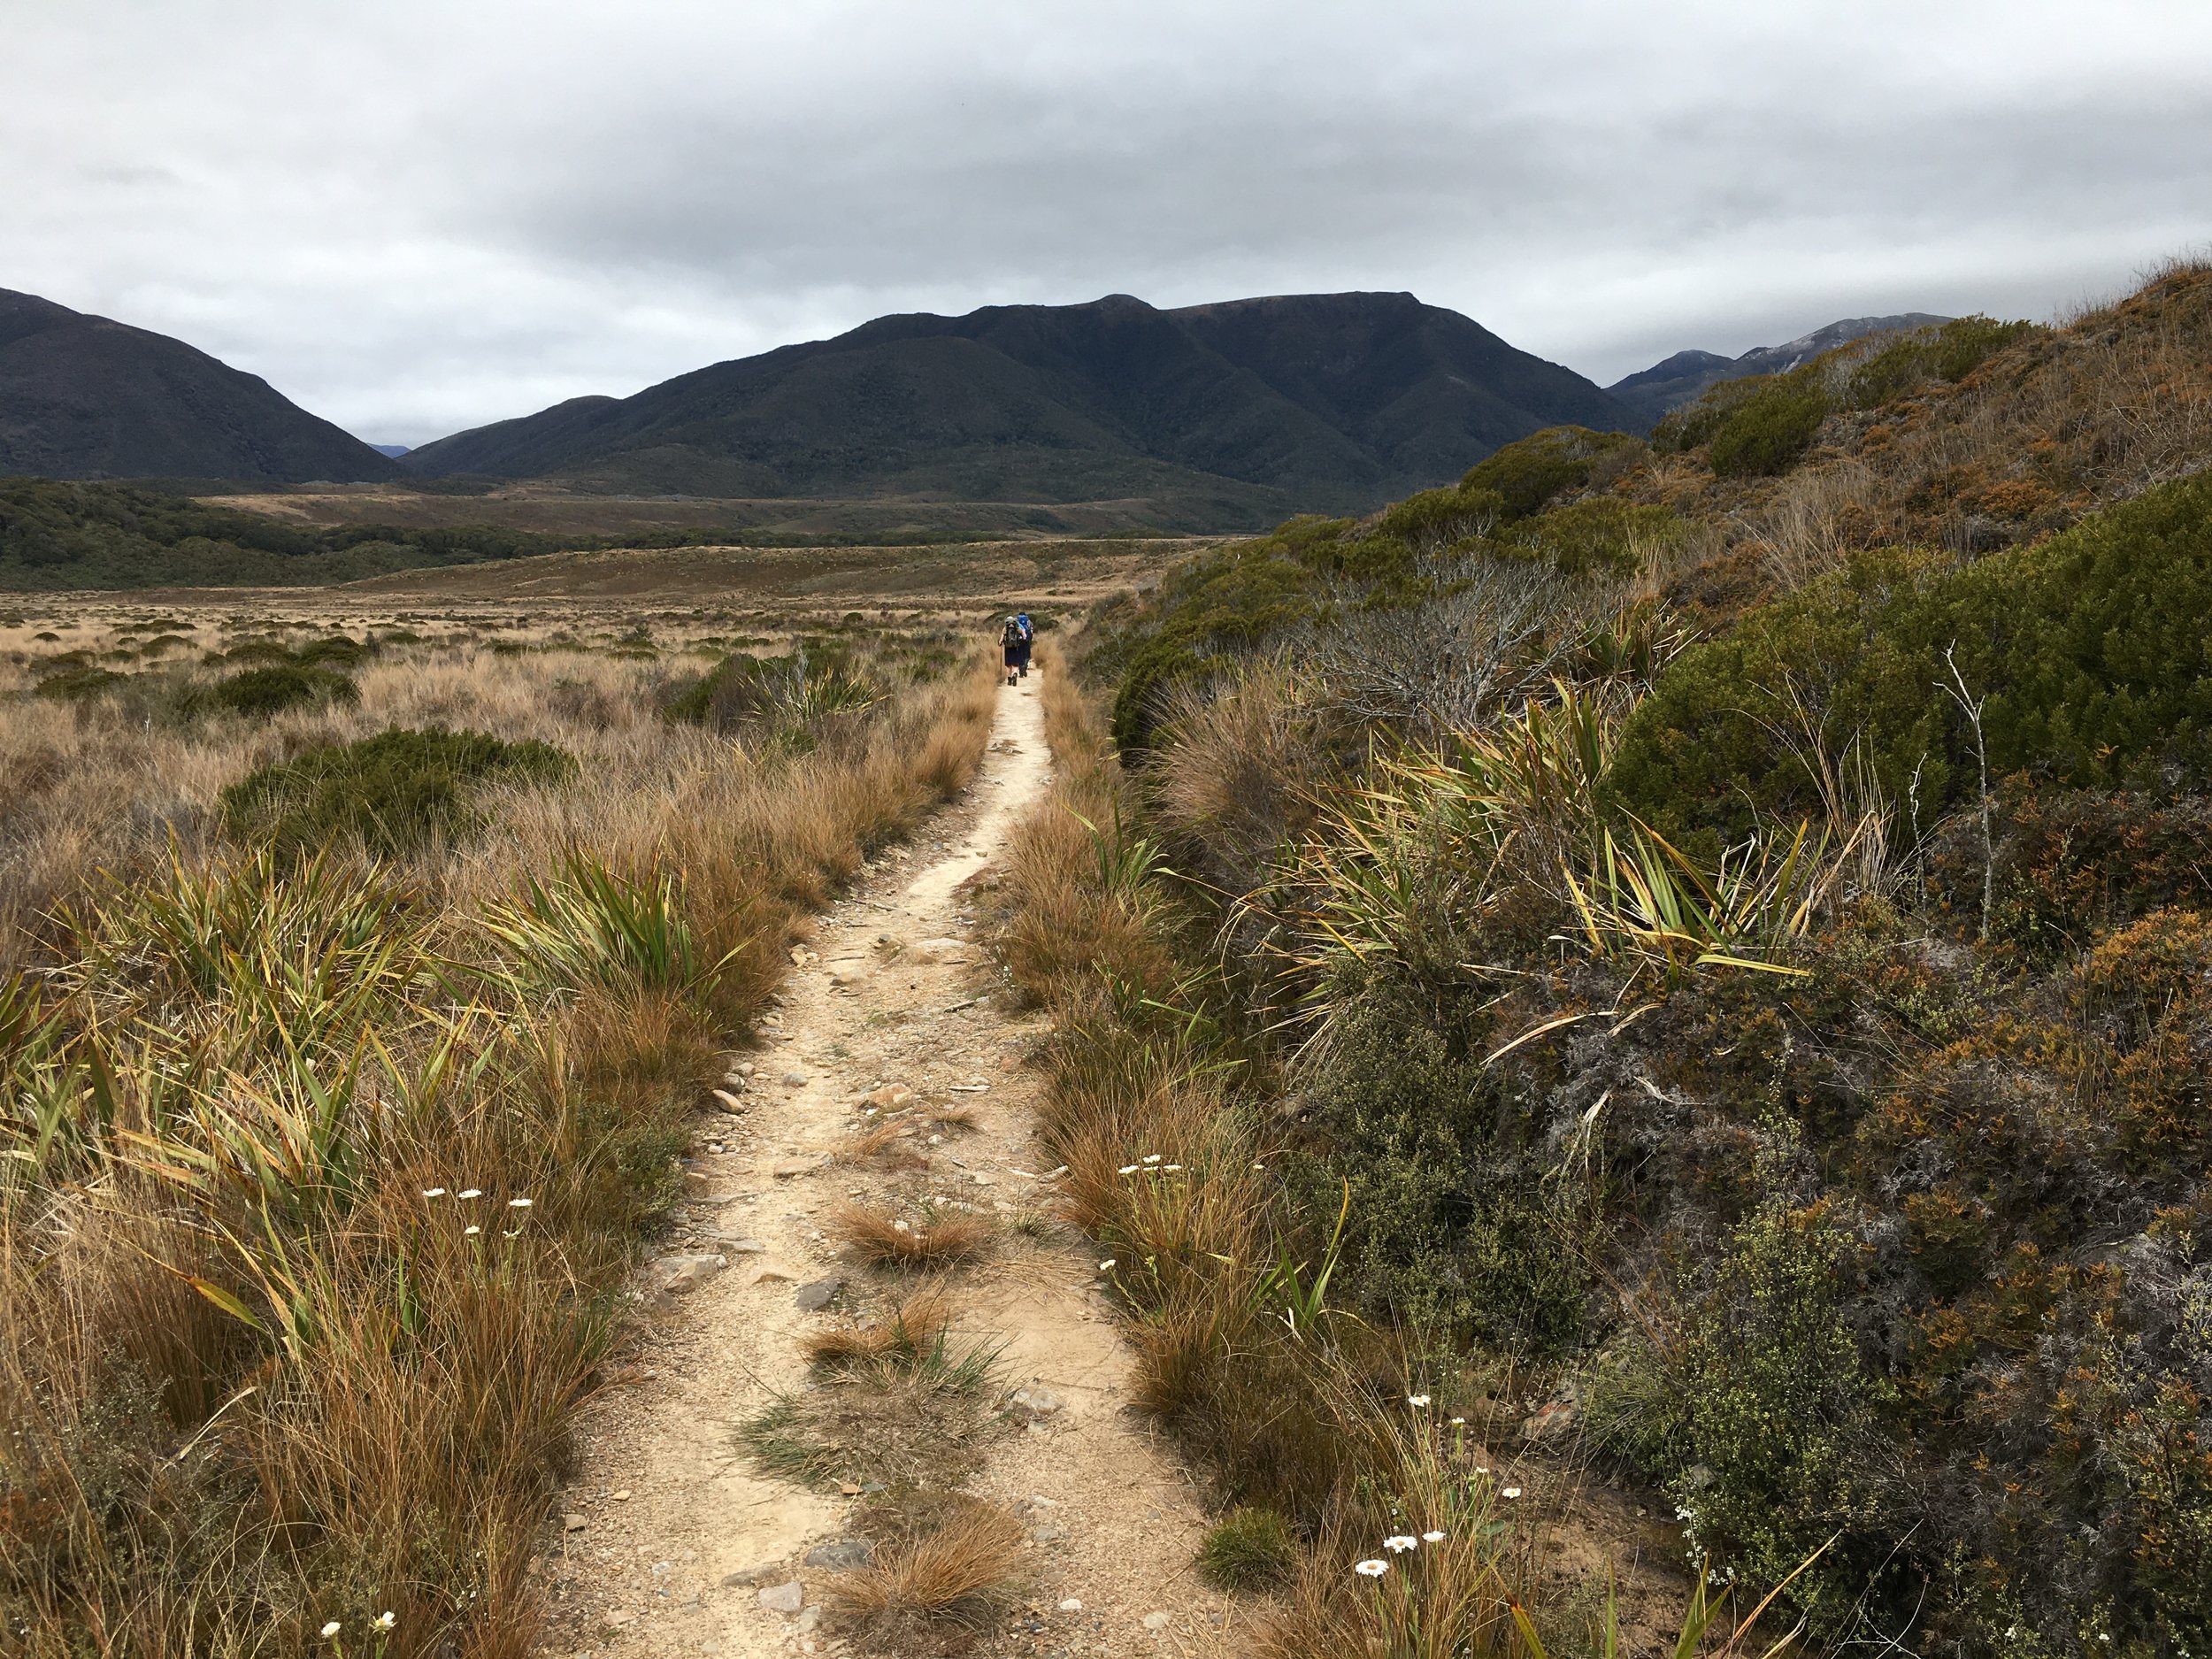
To try and give you some relevance and reality to how this framework can be used I will use a trip that we completed in December 2021 with 4 people hiking the Heaphy Track in New Zealand.
So, let’s begin.


G - Ground
This section looks to consider the type of terrain you are going to cover. What is the predominant ground type that you will be covering some questions to ask are what is the terrain type?
Flat, hill, mountain, alpine, coupled with open / bush-covered ground? Get a map and look at the contours the elevations to get a feel for the terrain. Never read a map before here is a link to help A beginners guide to understanding map contour lines | OS GetOutside (ordnancesurvey.co.uk)
Are you looking to travel an established trail, such as we did the Heaphy track?
Will you be covering a section of this trail or the whole trail? We chose to do the whole track.
Will you be creating your own route across the terrain? If so, wow that’s awesome! Respect, plan on.
Are there any planning guides already for this terrain? For our track there was plenty of info, see below for the link to Heaphy track info.
S - Situation/Season
What is your team size (Situation) and what Season are you traveling in?
I have left Situation in as a prompt for the group size for the trip as it is important to take this into account in the Mission and Execution sections. No use putting out a 20-day expedition mission for first-time campers unless you are on the daring side!
Situation - What is your situation? Are you going on group or solo travel? If group, what is the makeup and capabilities, ages, and experience of the group? With a group, plan for the capabilities of the team, NOT the individual dream.
Season - What season are you traveling in? 1-3 (Spring to Autumn / Fall) or 4 (winter)? What is the likely weather for the areas that you are traveling to or thru and are there any weather patterns that you may experience over the ground that marks the route that you are planning to take during the season that you are planning for? Spring and Autumn/Fall are a little tricky as they can plunge into really cold if you are not reading the weather patterns for the area that you are heading into.

M - Mission

Here you are summarising what you are looking to achieve for this trip. Is it a family trip, solo trip, or shakeout trip? Generally, the mission should be phrased in a sentence to encapsulate the goal that you are looking to achieve for your hike.
For example; taking our trip (Heaphy track hike) our mission could be stated as follows,
“Four reasonably experienced hikers will hike the Heaphy Great Walk track end to end in early December.”
This sentence pulls in the Ground, Situation, and Season into a mission statement and provides the setup for the remainder of the planning process. To summarise this mission statement, we can take from the sections above mission the following:
Ground = Heaphy Great Walk Track Heaphy Track: Golden Bay area Great Walk (doc.govt.nz)
Situation = Group trip of 4 adults who are reasonably experienced – no novices but not super advanced either, so we will be sticking to the track; no spicy side routes for us along the way!
Season = Early December (Note that December is smack in New Zealand summer!), but because the track is on the West Coast (it is often called the Wet Coast) we can expect rain at any time. Temperature ranges are advertised in the DOC brochures.
Note that I have not expressed “how” we will execute the trip yet, that is the next step, but if you have referenced the web link above for the Heaphy track you will see a lot of planning information that will help to inform your execution choices to achieve the mission.
E - Execution
Now we are getting to the sharp end. How are you going to complete the mission and over what timeframe? Will you be moving every day? Will you be base camping? Will you be hub and spoking?
Taking the example of our hike for the Heaphy Track, the walking brochure provided a lot of great information on distance, times, and hut locations. Our first decision was which way would we travel West to East or East to West? That provides the directional flow of the trip and then it is how will I break this down into bite-size chunks?
The guide says four days which we did (I should have planned for the team and broken it into five! – remember plan for the team as I pushed them a little hard with two long days).

So, based on the information, distance, huts and times, and terrain I initially decided on the following execution, which as you will see includes the travel to and from trailheads and accommodation before and after the hike as well.
Day 1 – Travel from home to Kohaihai and accommodate AirBnB
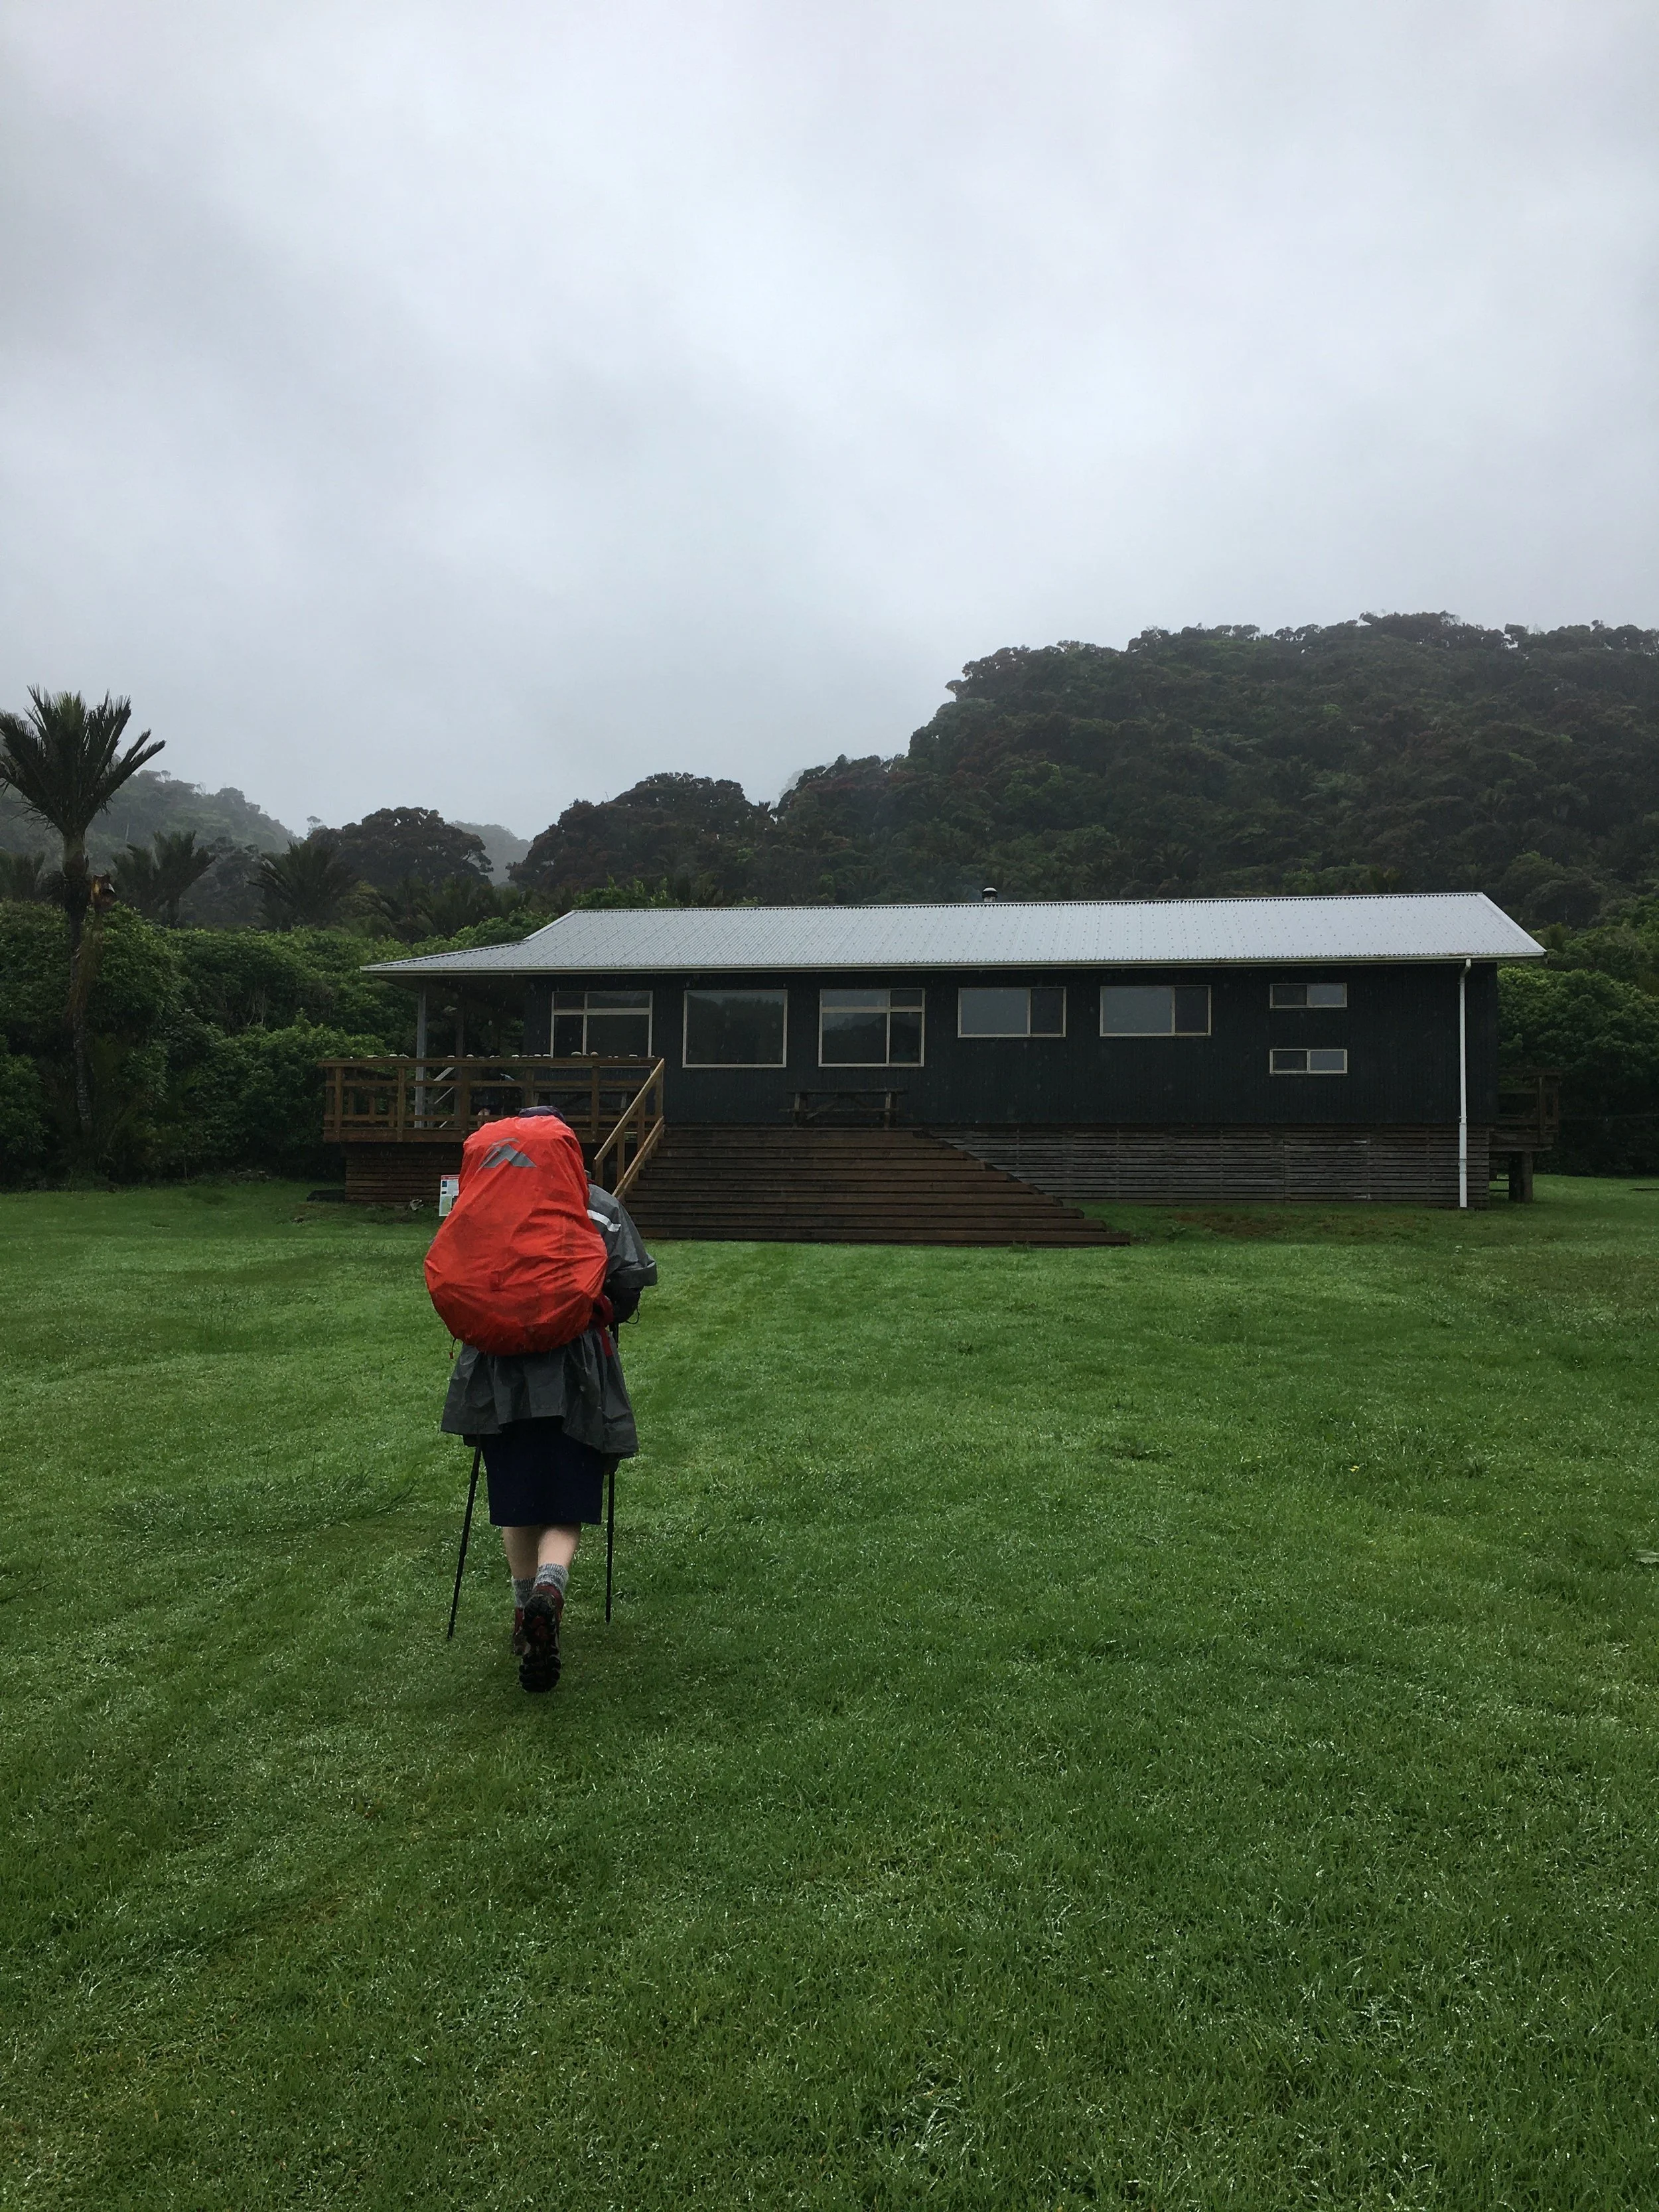
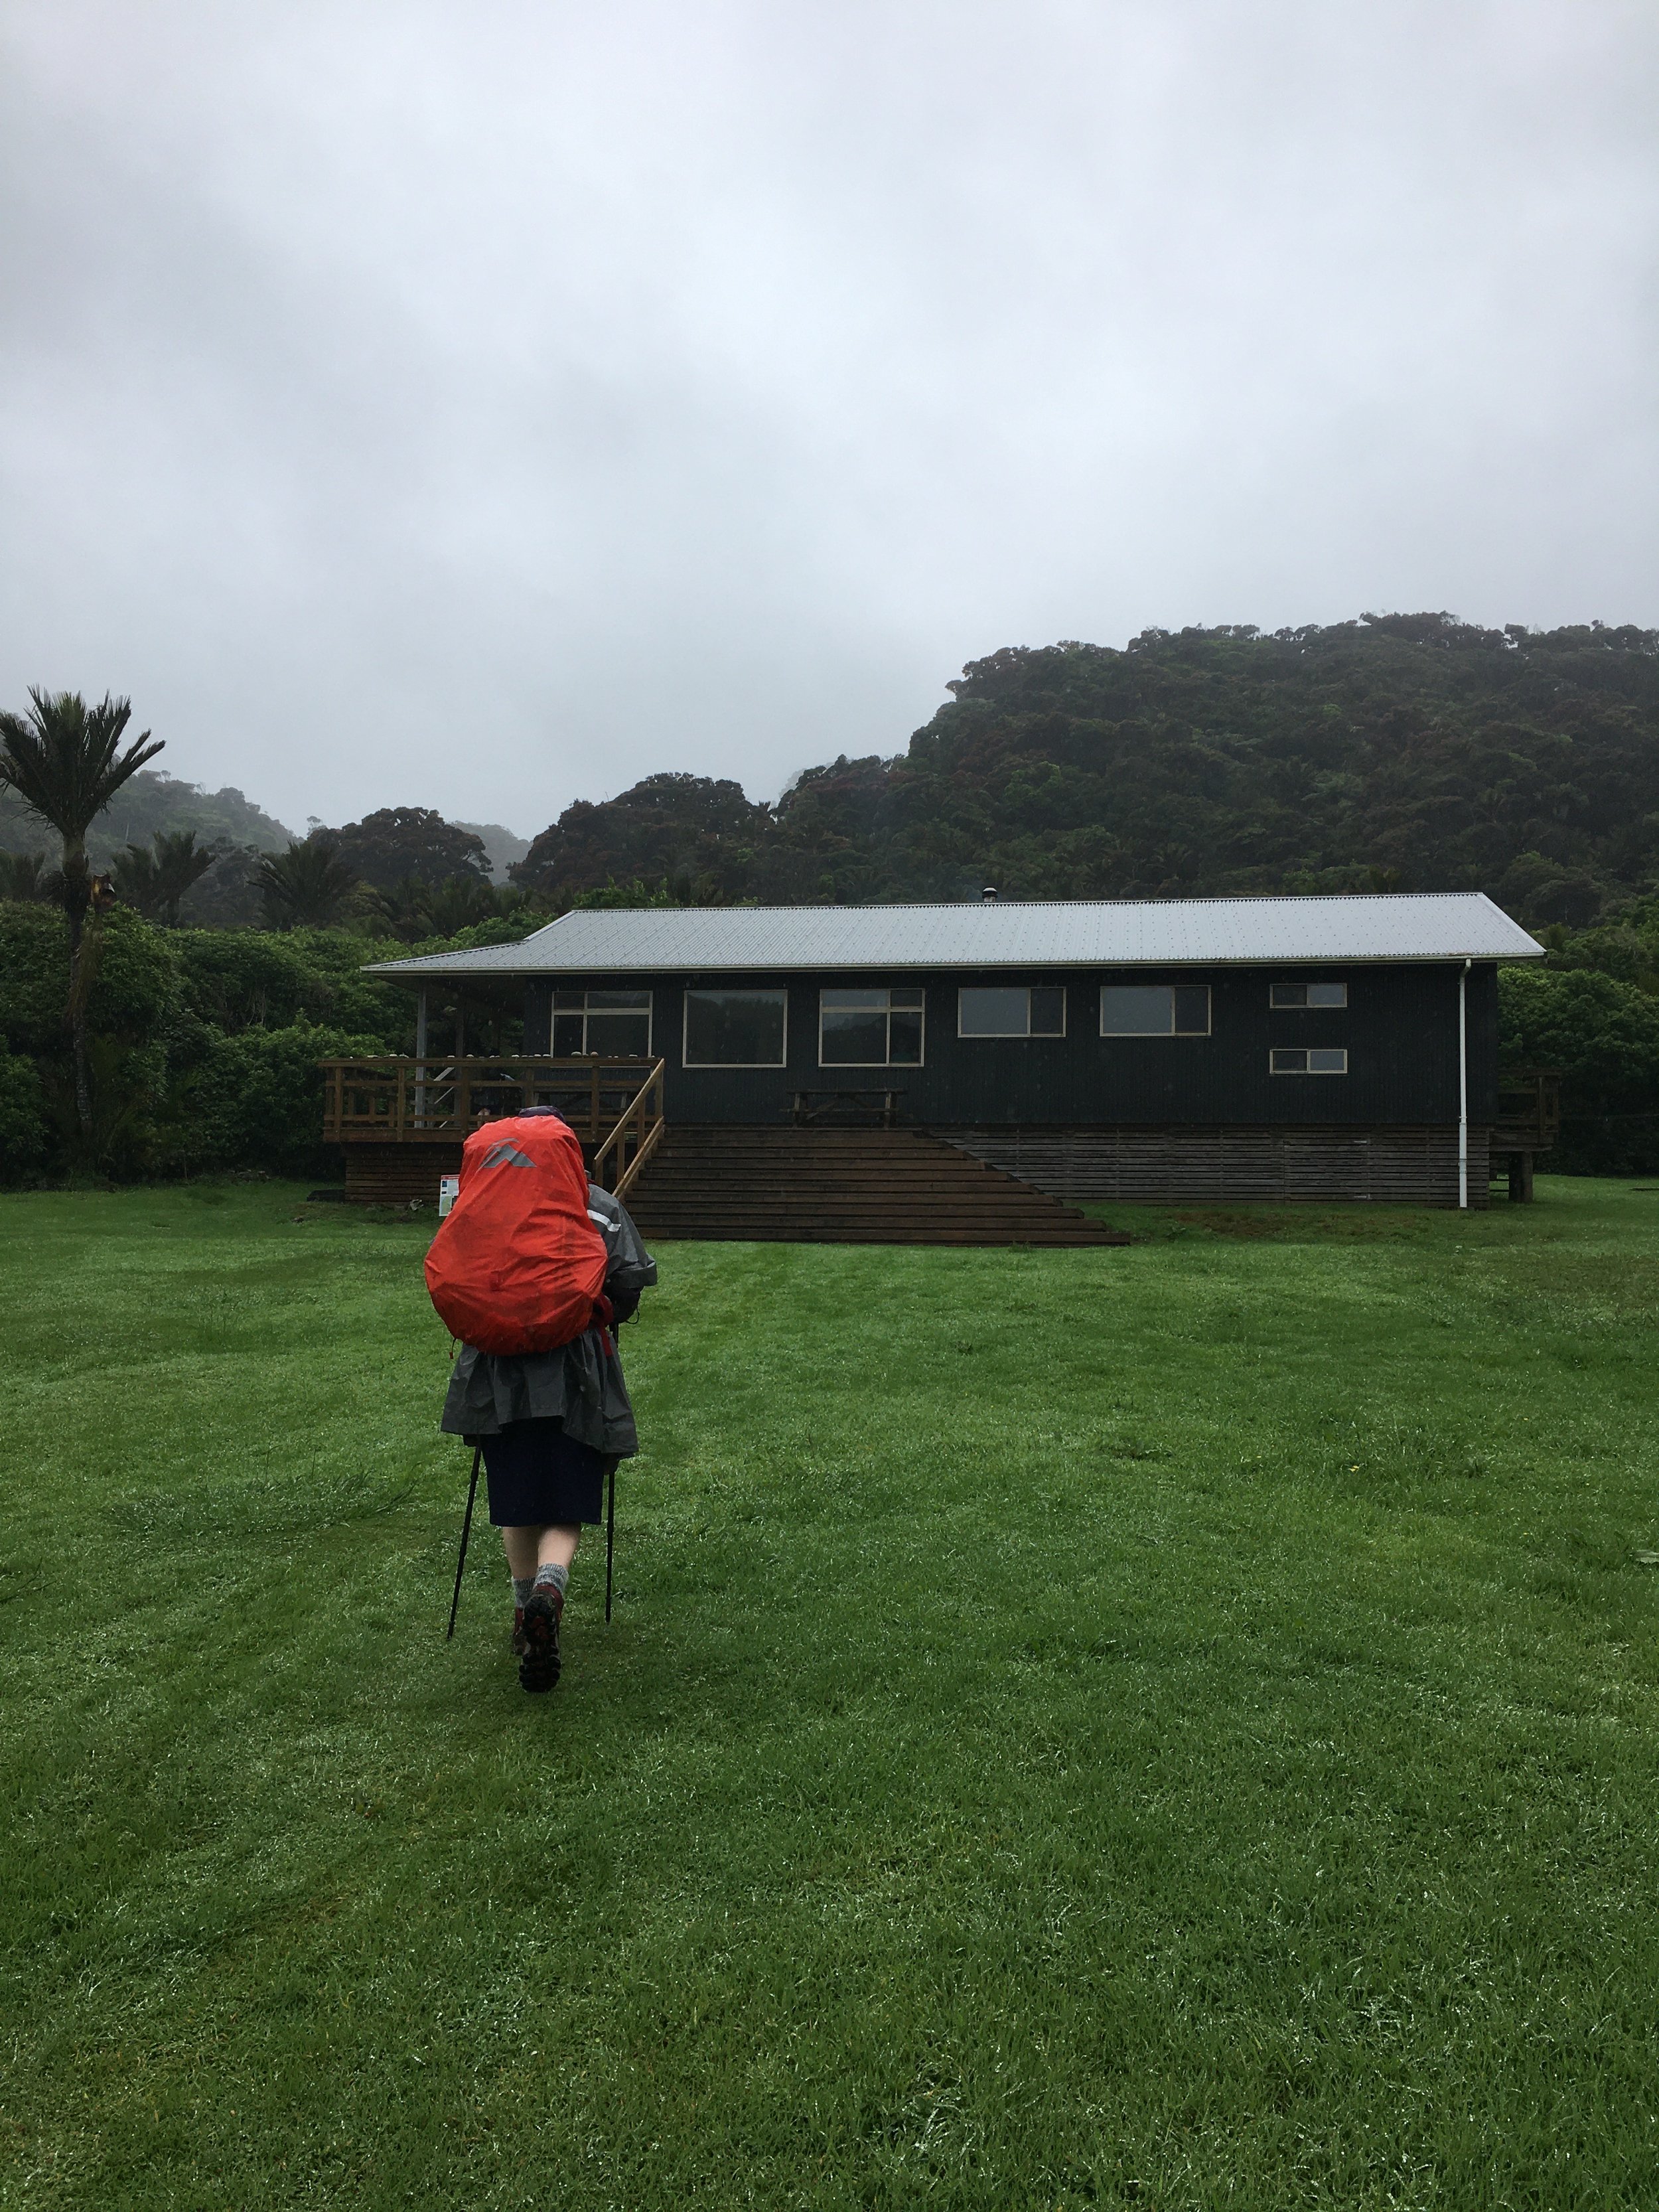
Day 2 – Hike Kohahai Trailhead to Heaphy Hut
Day 3 – Hike Heaphy Hut to James MacKay Hut
Day 4 – Hike James Mackay Hut to Perry Saddle Hutt
Day 5 – Hike Perry Saddle Hut to exit Trailhead, past Browns Hit
Day 5+ – Collect Van Travel to Nelson AirBnB, sort kit, rest get a good feed
Day 6 – Another day R&R in Nelson, do some eating and some shopping
Day 7 – Travel home
Our execution for the hike was approximately 3.5 days of hiking (we were out on the 4th day) with overnight accommodation in huts on the track (these require advanced bookings), but also including travel to and from trailheads and accommodation before and after the hike. So all up we have a seven-day mission execution. The execution when planning for backpacking basically becomes your itinerary for the travel to and from and the hike itself. Write it done, check it, talk to others in the group, argue about it come to a consensus, and then lock it in place.
A - Administration
Now comes the real meat and potatoes of the framework. The admin section is totally informed by Ground / Situation Season / Execution planning that you have gone through previously.
By now you know where you are going, who you are going with, general weather/conditions and what the mission is and how it will play out days/time, etc. So, flowing out of the information to hand you can start to move through the following administration areas.
Travel – How do I get to and from home to the trailheads through the trail and back home again? One of the big travel admin problems with the Heaphy Track is that as we are hiking 80km / 50 miles away from the car left at the Kohaihai trailhead how do I get the car to the other trailhead at the end waiting for us? I did some research and the solution was a car transfer service that goes into bookings that I need to sort out. That flows into bookings plus costings.

You never know what kind of transportation you might need to get somewhere!
Accommodation – From the execution plan for my trip you can see that we need three nights AirB&B plus three hut bookings.
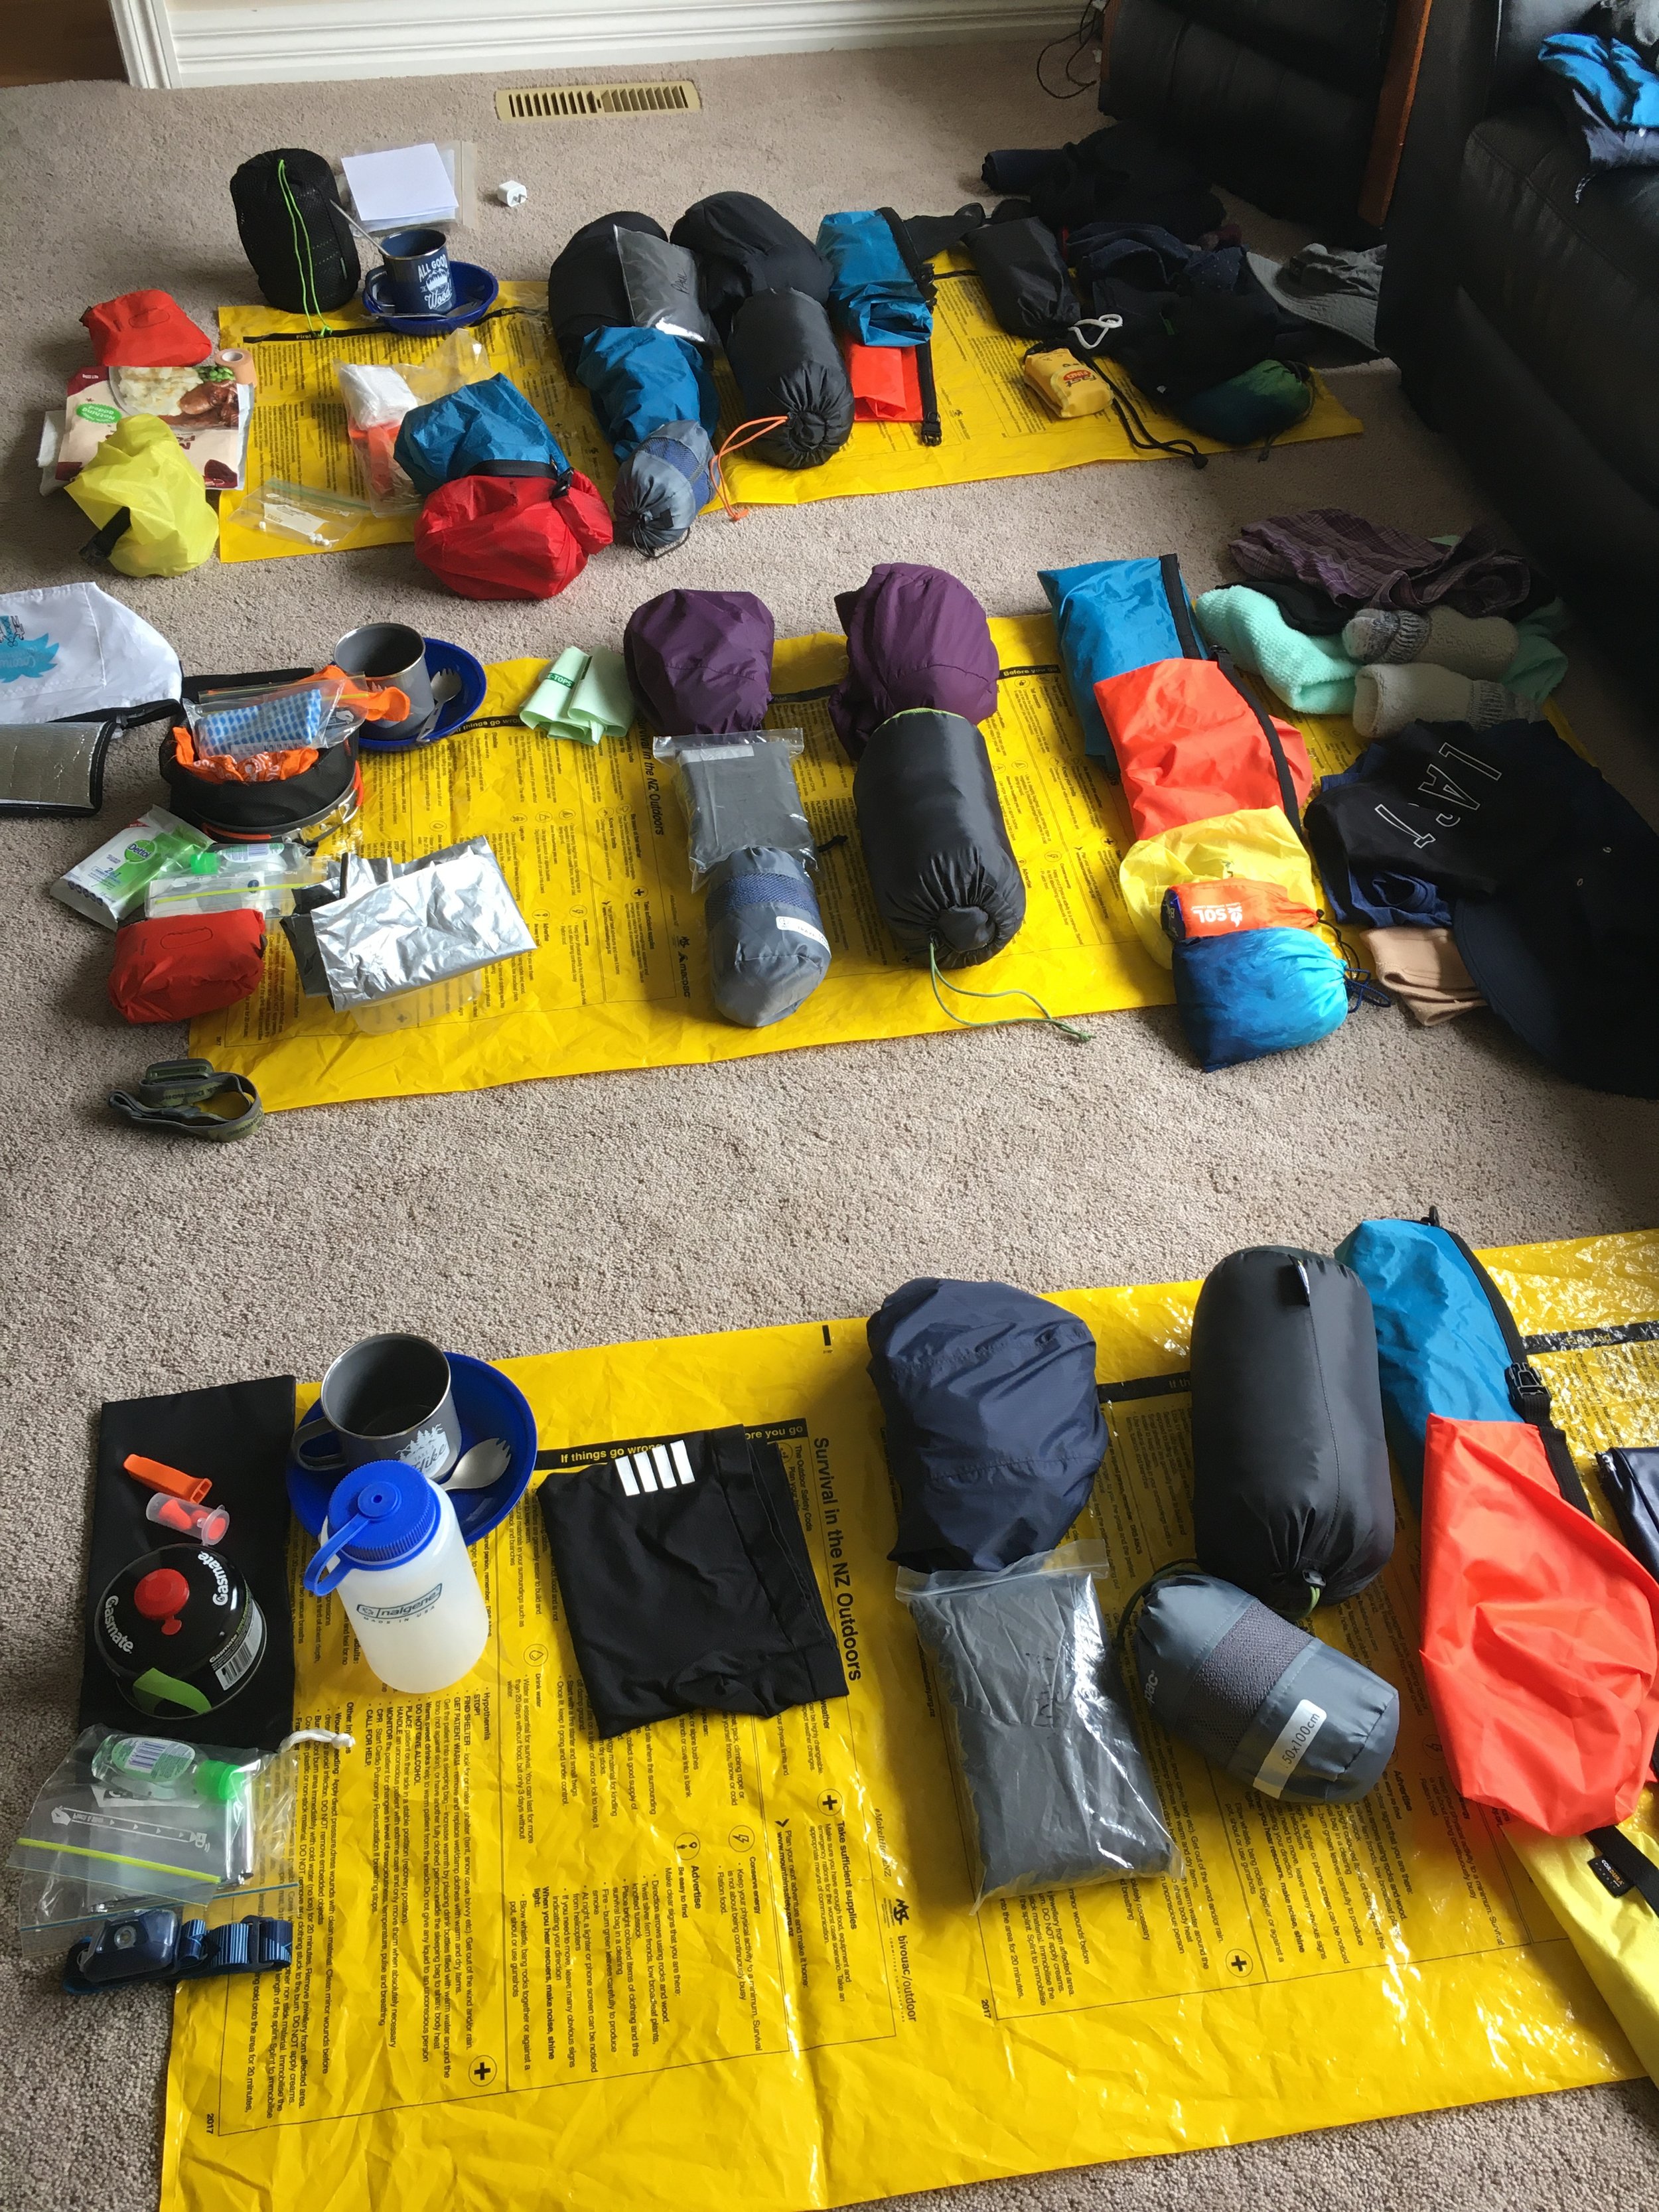
Gear – It’s summer (from the season section) and a well-formed track (from the ground) and we are staying in huts each night (from execution). I don’t need a tent(s) but will take an emergency bivvy for any emergency on the track between huts. The gear is a summer kit but I will make sure there is good rain gear to take into account the NZ weather and the West Coast (wet, wet, wet). We dumped the full wet weather gloves for this trip as it was summer, and we would survive with wet polypro gloves. If it was Fall/Winter I would up the hand protection.
Food / Fuel – The huts will have gas provided but I always take enough gas for water boiling/lunch and emergencies. I only need four days' supply. Food will be four days less some in’s and outs plus we will carry 1 day of emergency per person. The emergency rations are something like green belly ready-to-eat style food.
Day 2 – Lunch, snacks, dinner, drinks (no breakfast that was consumed before the trail)
Day 3 – Breakfast, snacks, lunch, dinner, drinks
Day 4 - Breakfast, snacks, lunch, dinner, drinks
Day 5 – Breakfast, snacks lunch, drinks (dinner not required as we were out before dinner)
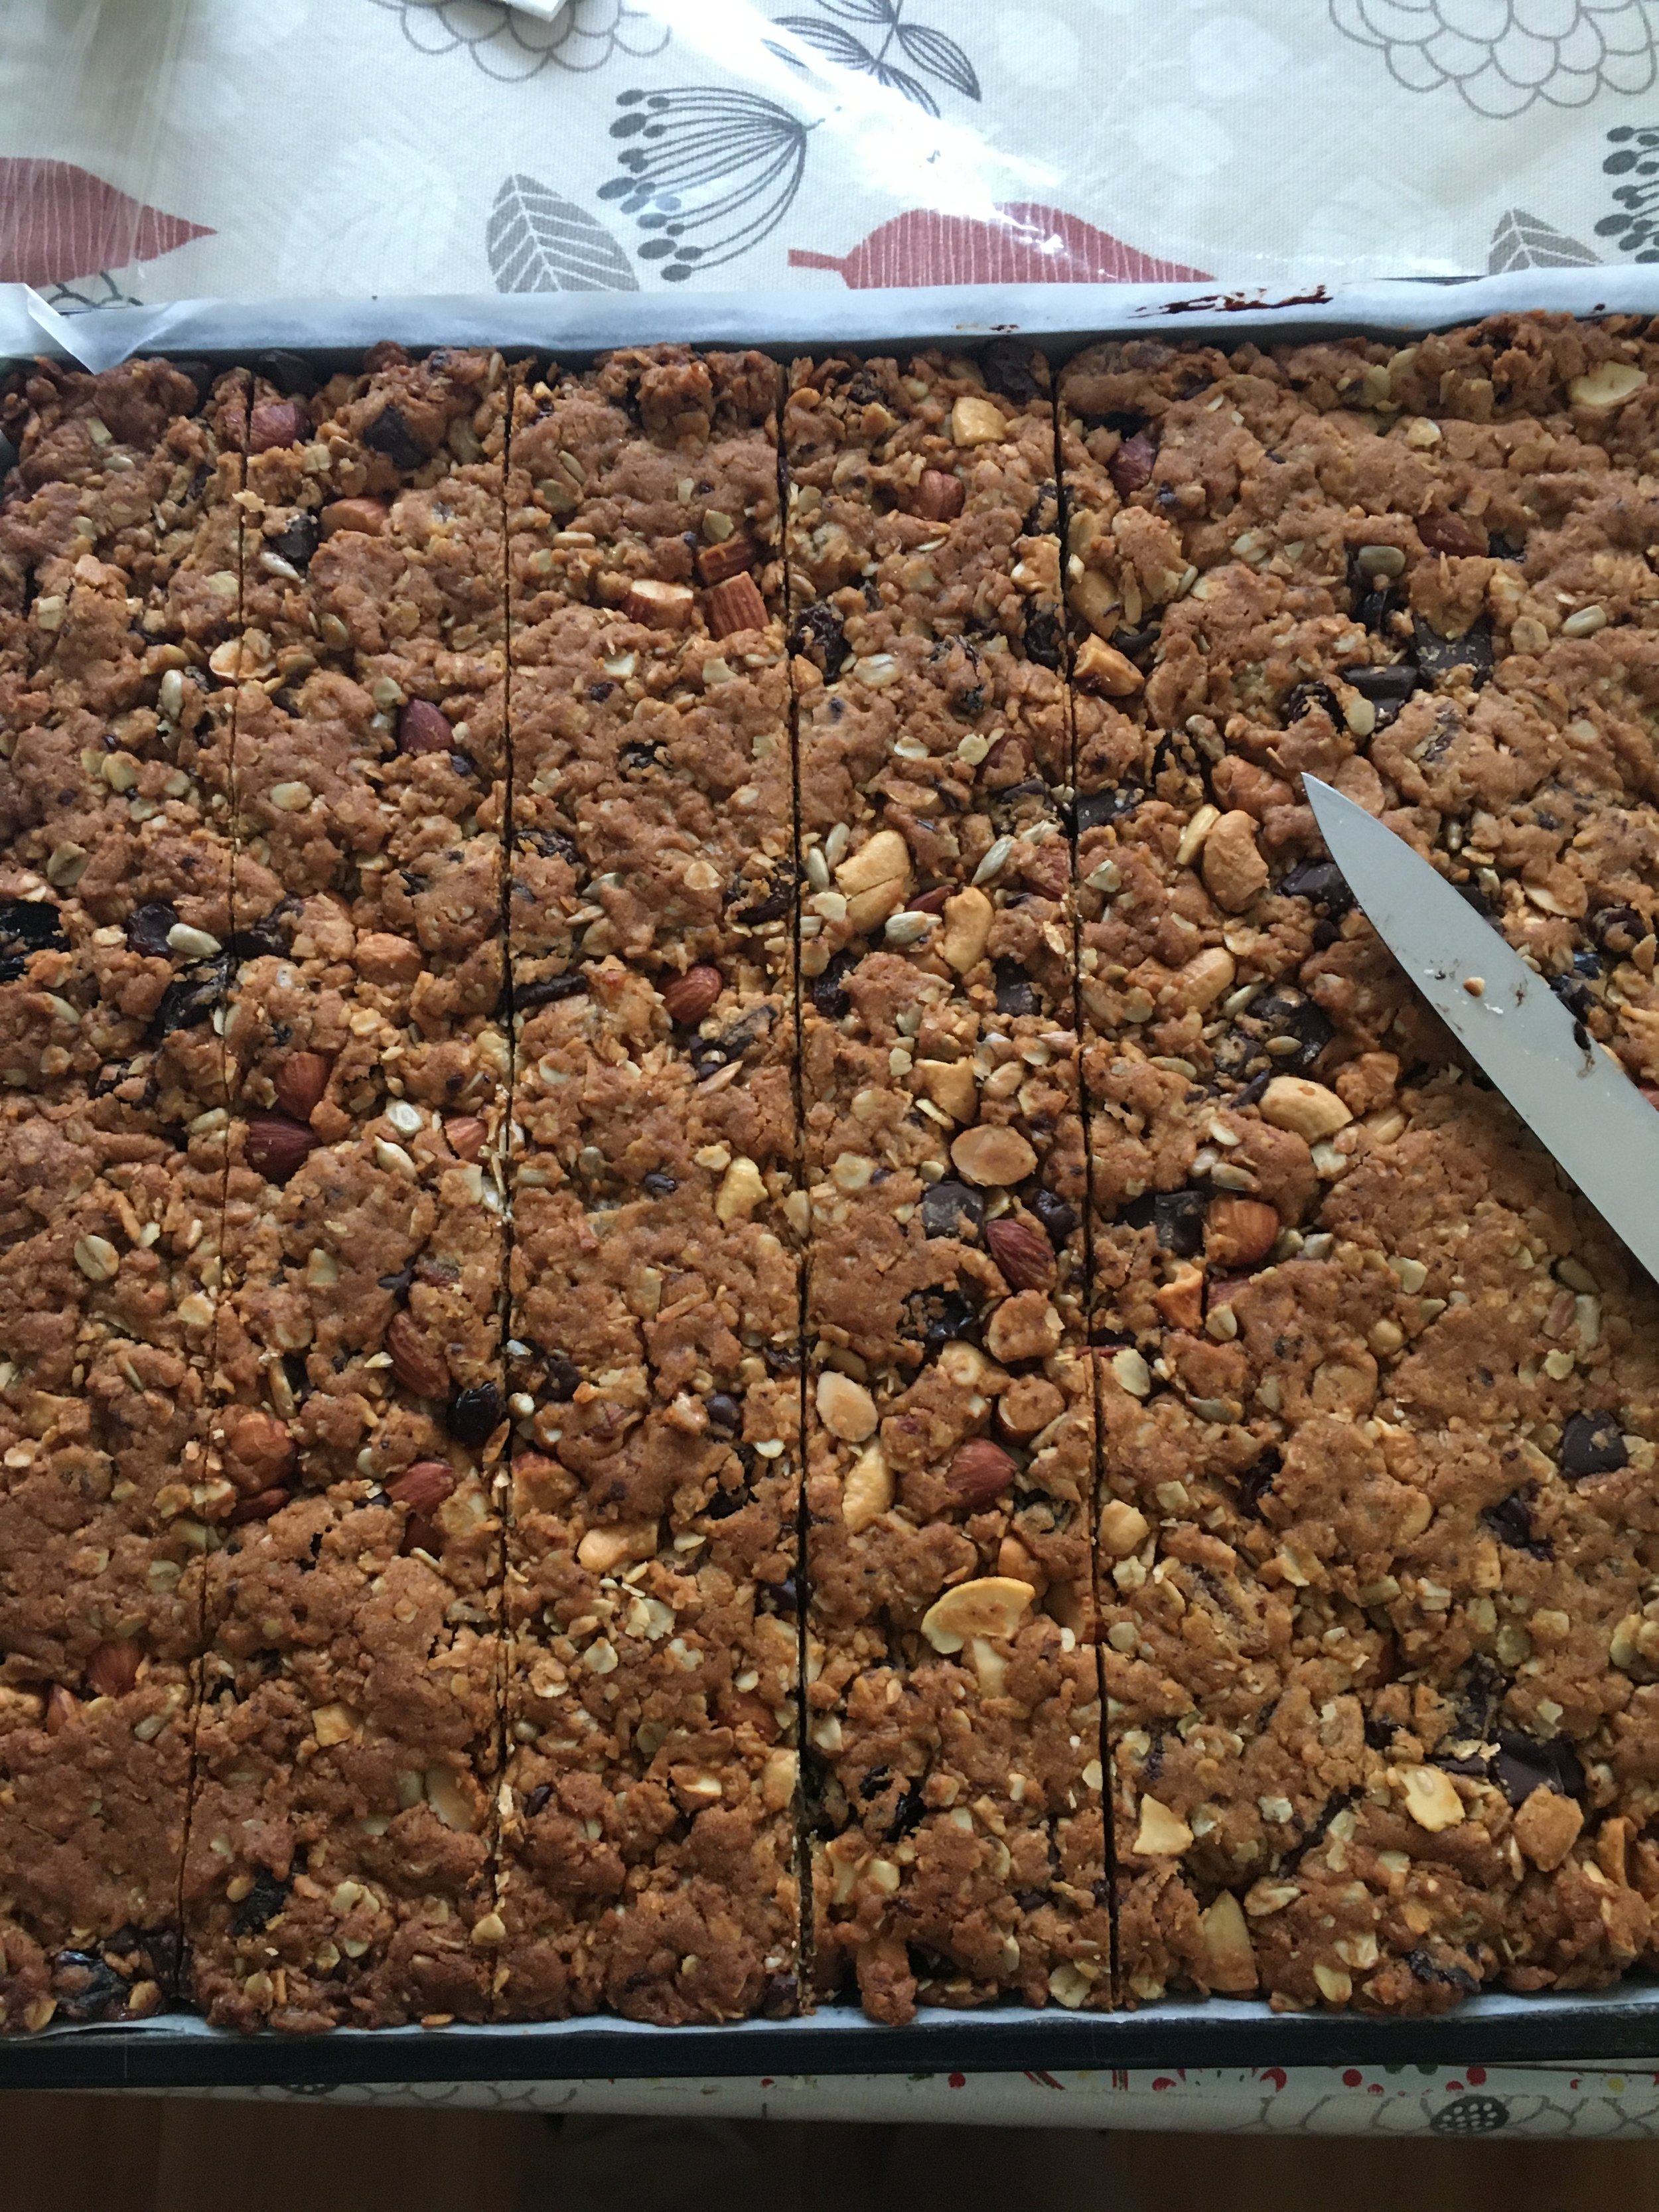
We have found that we average a pound and a half of food per person per day for a full day. For food, planning makes sure that you break your day up into manageable chunks and keep hydrated and feed along the trail as you go. A good rule of thumb is 5 miles, 1 liter, 500 calories which for us in NZ equated to 8km, 1 liter, 500 calories.
For our trip, we looked to stop every 4km (2.5 miles) for a quick stop (standing stop not packs off) to have a drink and a snack of ~250 calories. Food/hydration is a big subject and I recommend Valley to Peak Nutrition (Kyle Kamp) Valley To Peak Nutrition | Nutrition Coaching for the Outdoor Enthusiast (v2pnutrition.com) for solid information to assist you with the right balance for the adventure that you are undertaking.
With hydration there is much to be said about preloading before you hit the trail and when you hit a designated water point. Put it in you do not carry it on you where possible is the key (1 liter of water equals 1lb / 1kg weight), also sip not slurp. Drinking too fast will just make it go through and you will lose the benefit that you’re trying to obtain. We try to put a liter into ourselves with drinks and sipping before we hit the trail in the morning so we are preloaded for at least 8km / 5 miles and then continue to input along with that first stretch, so we are topping up the output.
Permits/bookings
Do you need a trail permit, hut, camping spot, or hut booking? On my trip, I needed to plan and book the AirB&B accommodation (both ends) and three huts on the track as noted from the accommodation. I booked the trail huts first as there is no point in getting the others sorted if there are no slots on the dates we want to go.
*Top tip make sure you get these sorted as quickly as possible as nothing nails a trip like no permit or no accommodation on the trail.
Navigation
How are you going to navigate your way? I recommend a map and compass as a baseline. They don’t need batteries and are always on, but you need to know how to use them in advance so get some knowledge up beforehand.
That said I also use GAIA GPS for my trips and plan my route in the ground and execution sections mapping out days to get a feel for distance, elevation, etc … Beware the route distance and endurance required is always easier in your head than when you are on the track. If you have been out multiple times, you will have a feel for the capability of the team and the speed that you can travel. If in doubt dial it back a bit.
First Aid
The basics of blister prevention, small cut and abrasions management, inflammation general bandage control is required. There is plenty of how-to-what-to’s out there just make sure you have enough. But remember that you are not going to be performing surgery on the trail, at least I hope not. If you have a big problem, manage as best you can and hit that PLB (personal locator beacon). Yes, you should carry one.
Costings
How much is all this exercise going to cost in travel, accommodation, car transfers, food, permits, and hut bookings? Nothing like a good spreadsheet for this.
C - Command and Control
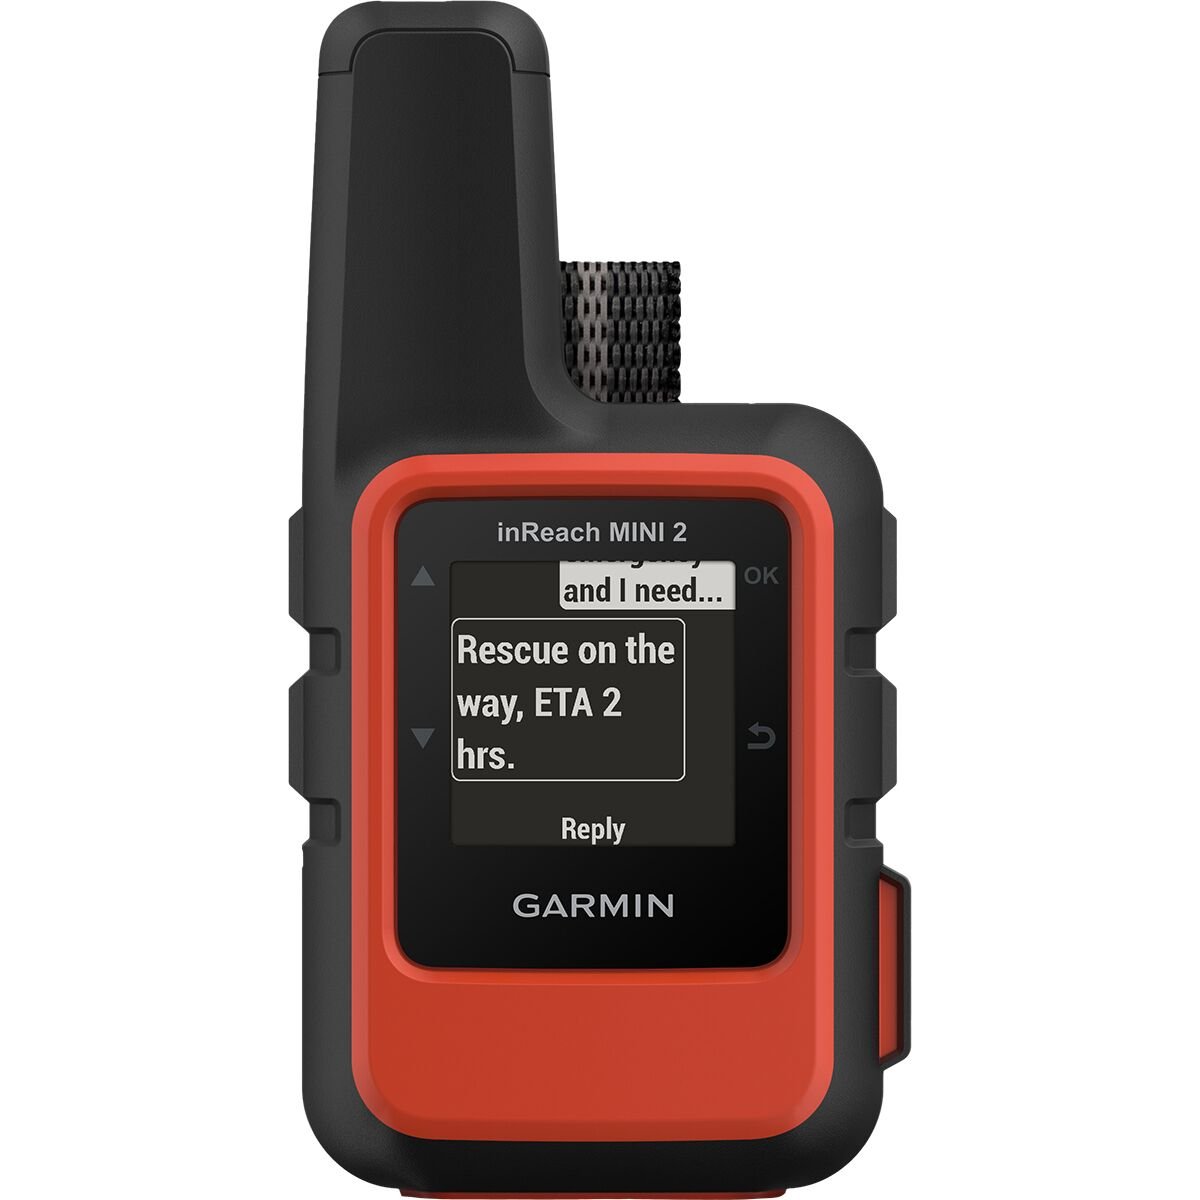
Garmin InReach Mini
The final section but not the least. Firstly, always let someone else (at home) know your plans. Pull out the execution piece and give it to them that way they know the dates and where you will be along the way and when they can expect you back home. When should the call for the emergency services go out, etc?
Also, at a minimum take a personal locator beacon for big emergencies (where you cannot walk out), or if you like more interactive communication a Garmin mini or Zoleo two-way communication and SOS device. Garmin’s or Zoleo’s provide for you to be able to keep your home contact updated on your progress and change of plans etc …
Also make sure that everyone in the group knows where the map/compass is, what type of PLB you are going to carry, and how and when to operate the SOS function before you get on the trail.
Train before you get on the trail not in the midst of the trial.
Parting Thoughts
Well, that’s it GSMEAC is a framework that can be beneficial to your better backpacking experience. Remember it’s a framework and a process to get you out into the field not a thing that you need to slave over.
After a couple of times working on the framework as part of your planning process, you will start to intuitively run the framework and the process through your mind for each trip/mission that you want to undertake.
Of course, there are a number of supporting spreadsheets and checklists that you should / could create coming out of your planning so I encourage you to find these / create these or at least write them down on some paper and make a trip folder that you can come back to.
Paul McTaggart
Paul is a backpacker based in New Zealand. He spent his younger years in the military, then raised a family, and is now falling back in love with backpacking.
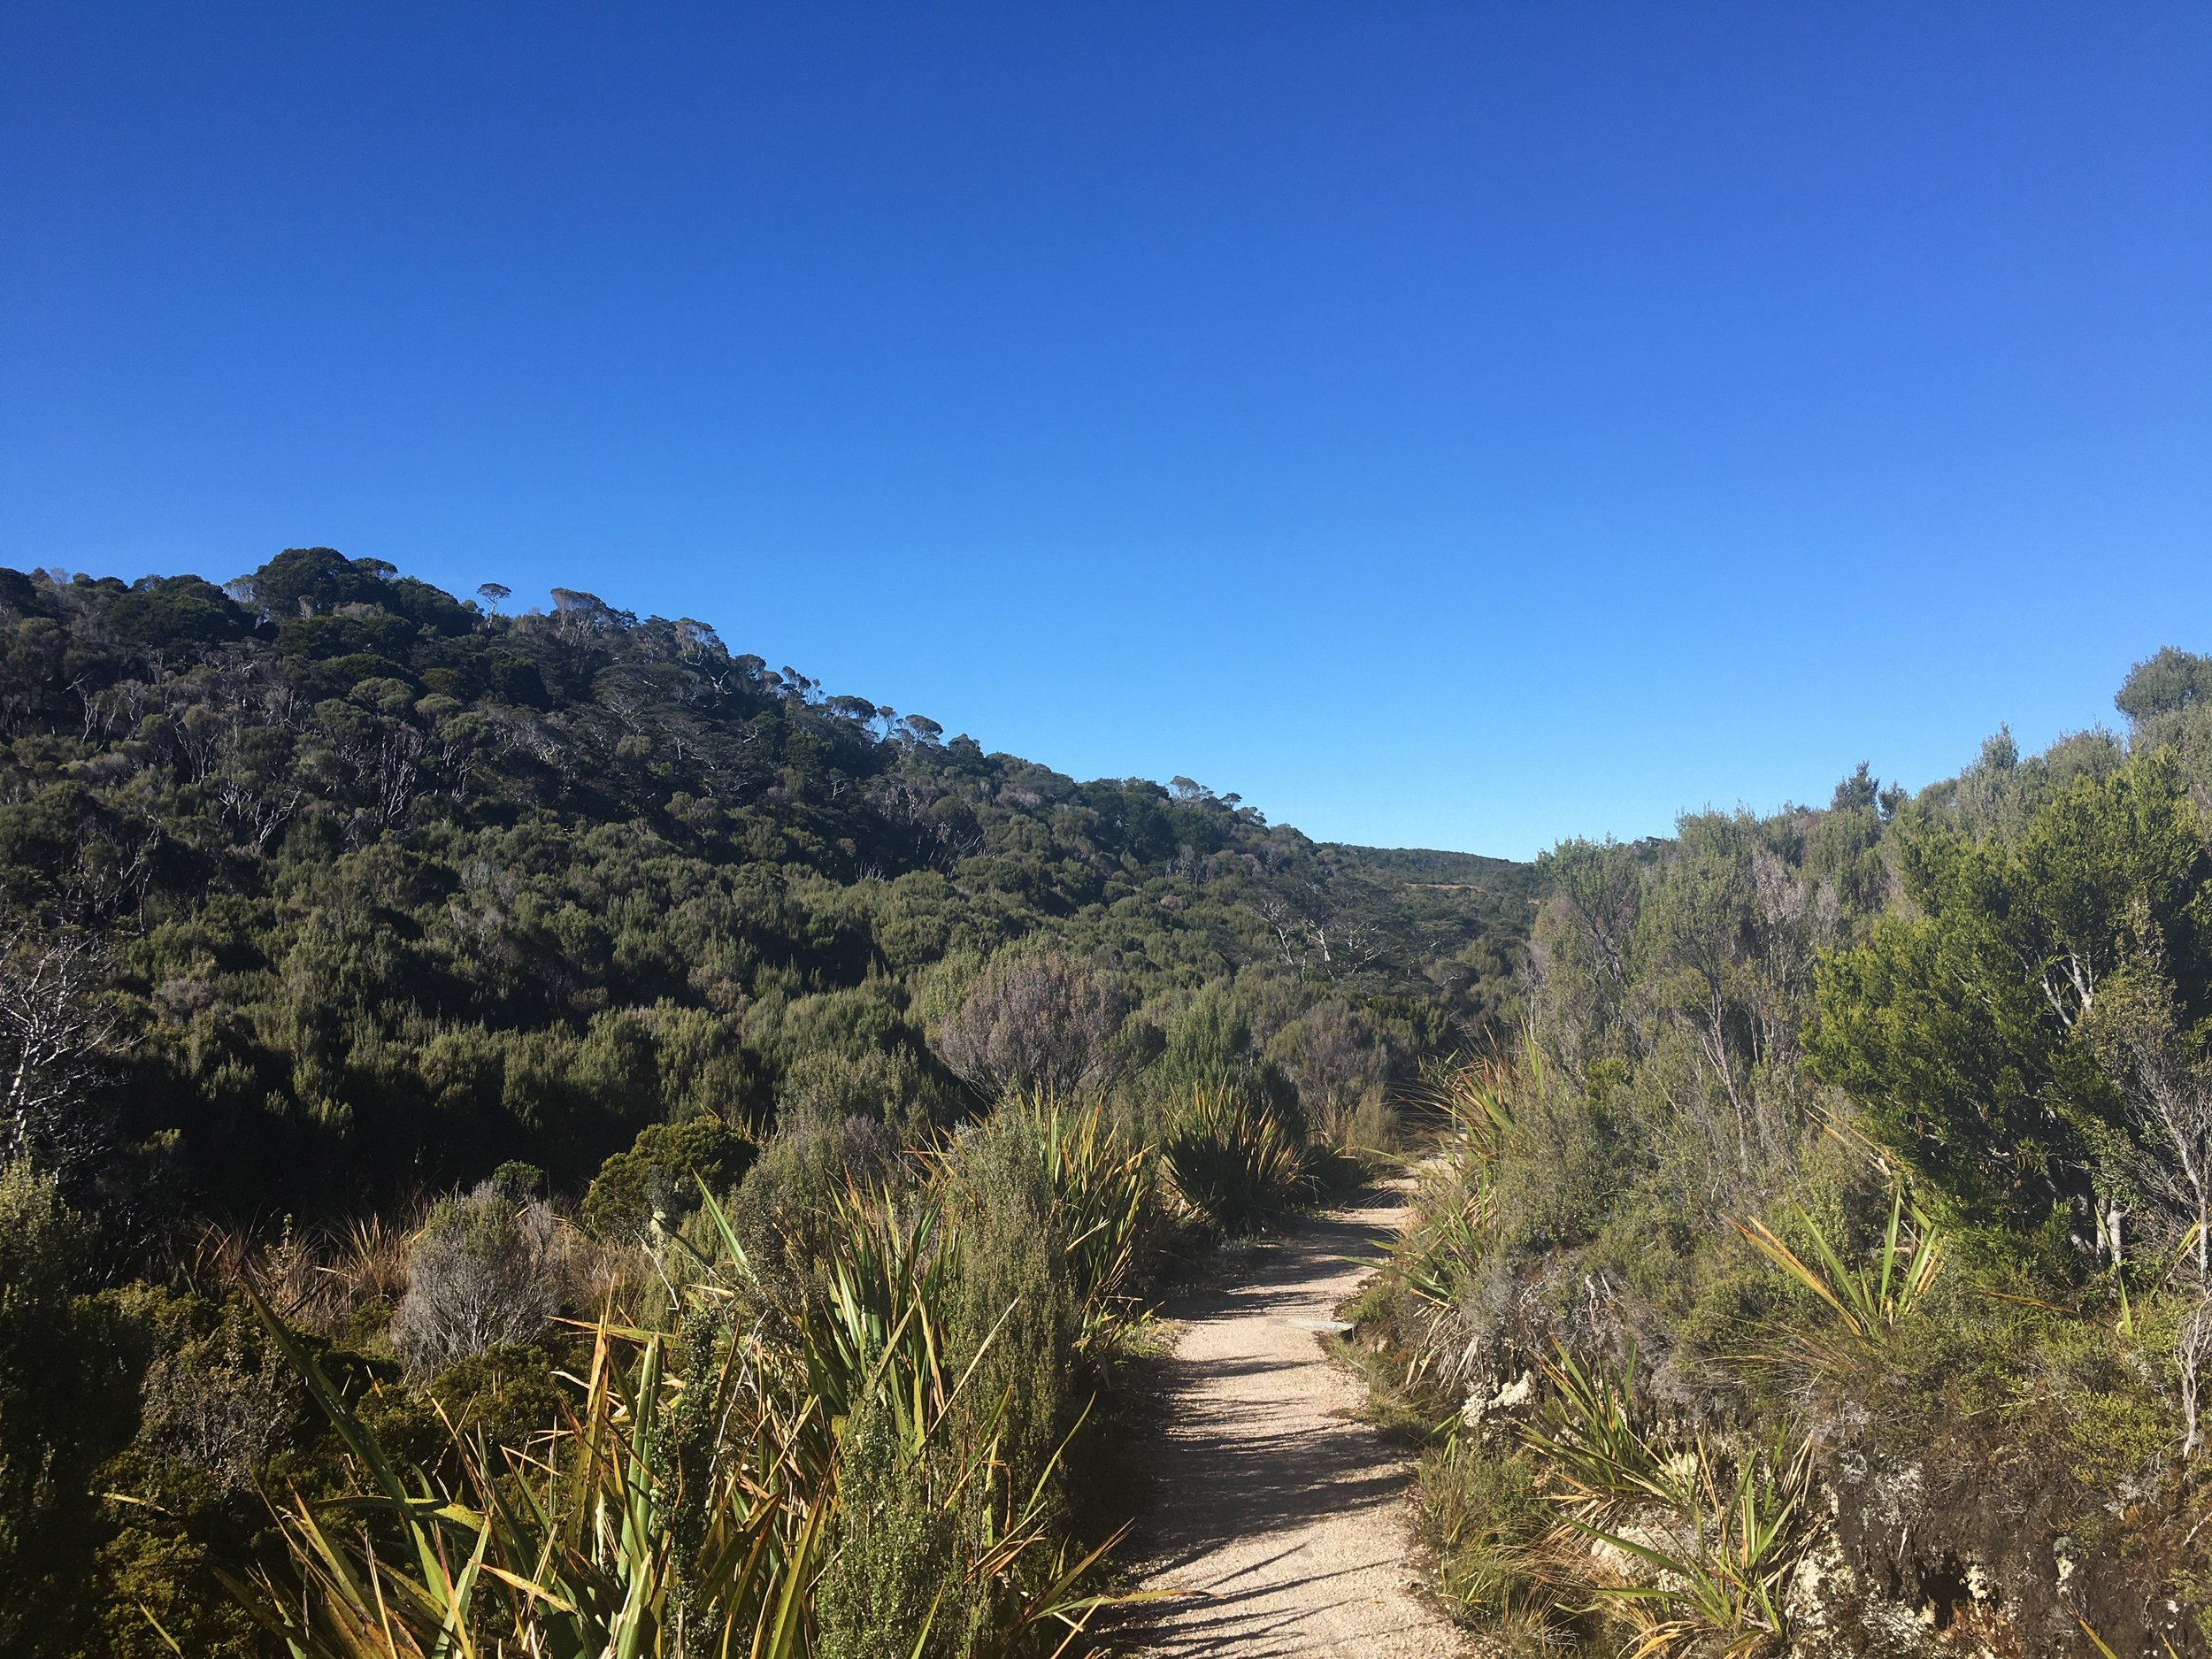
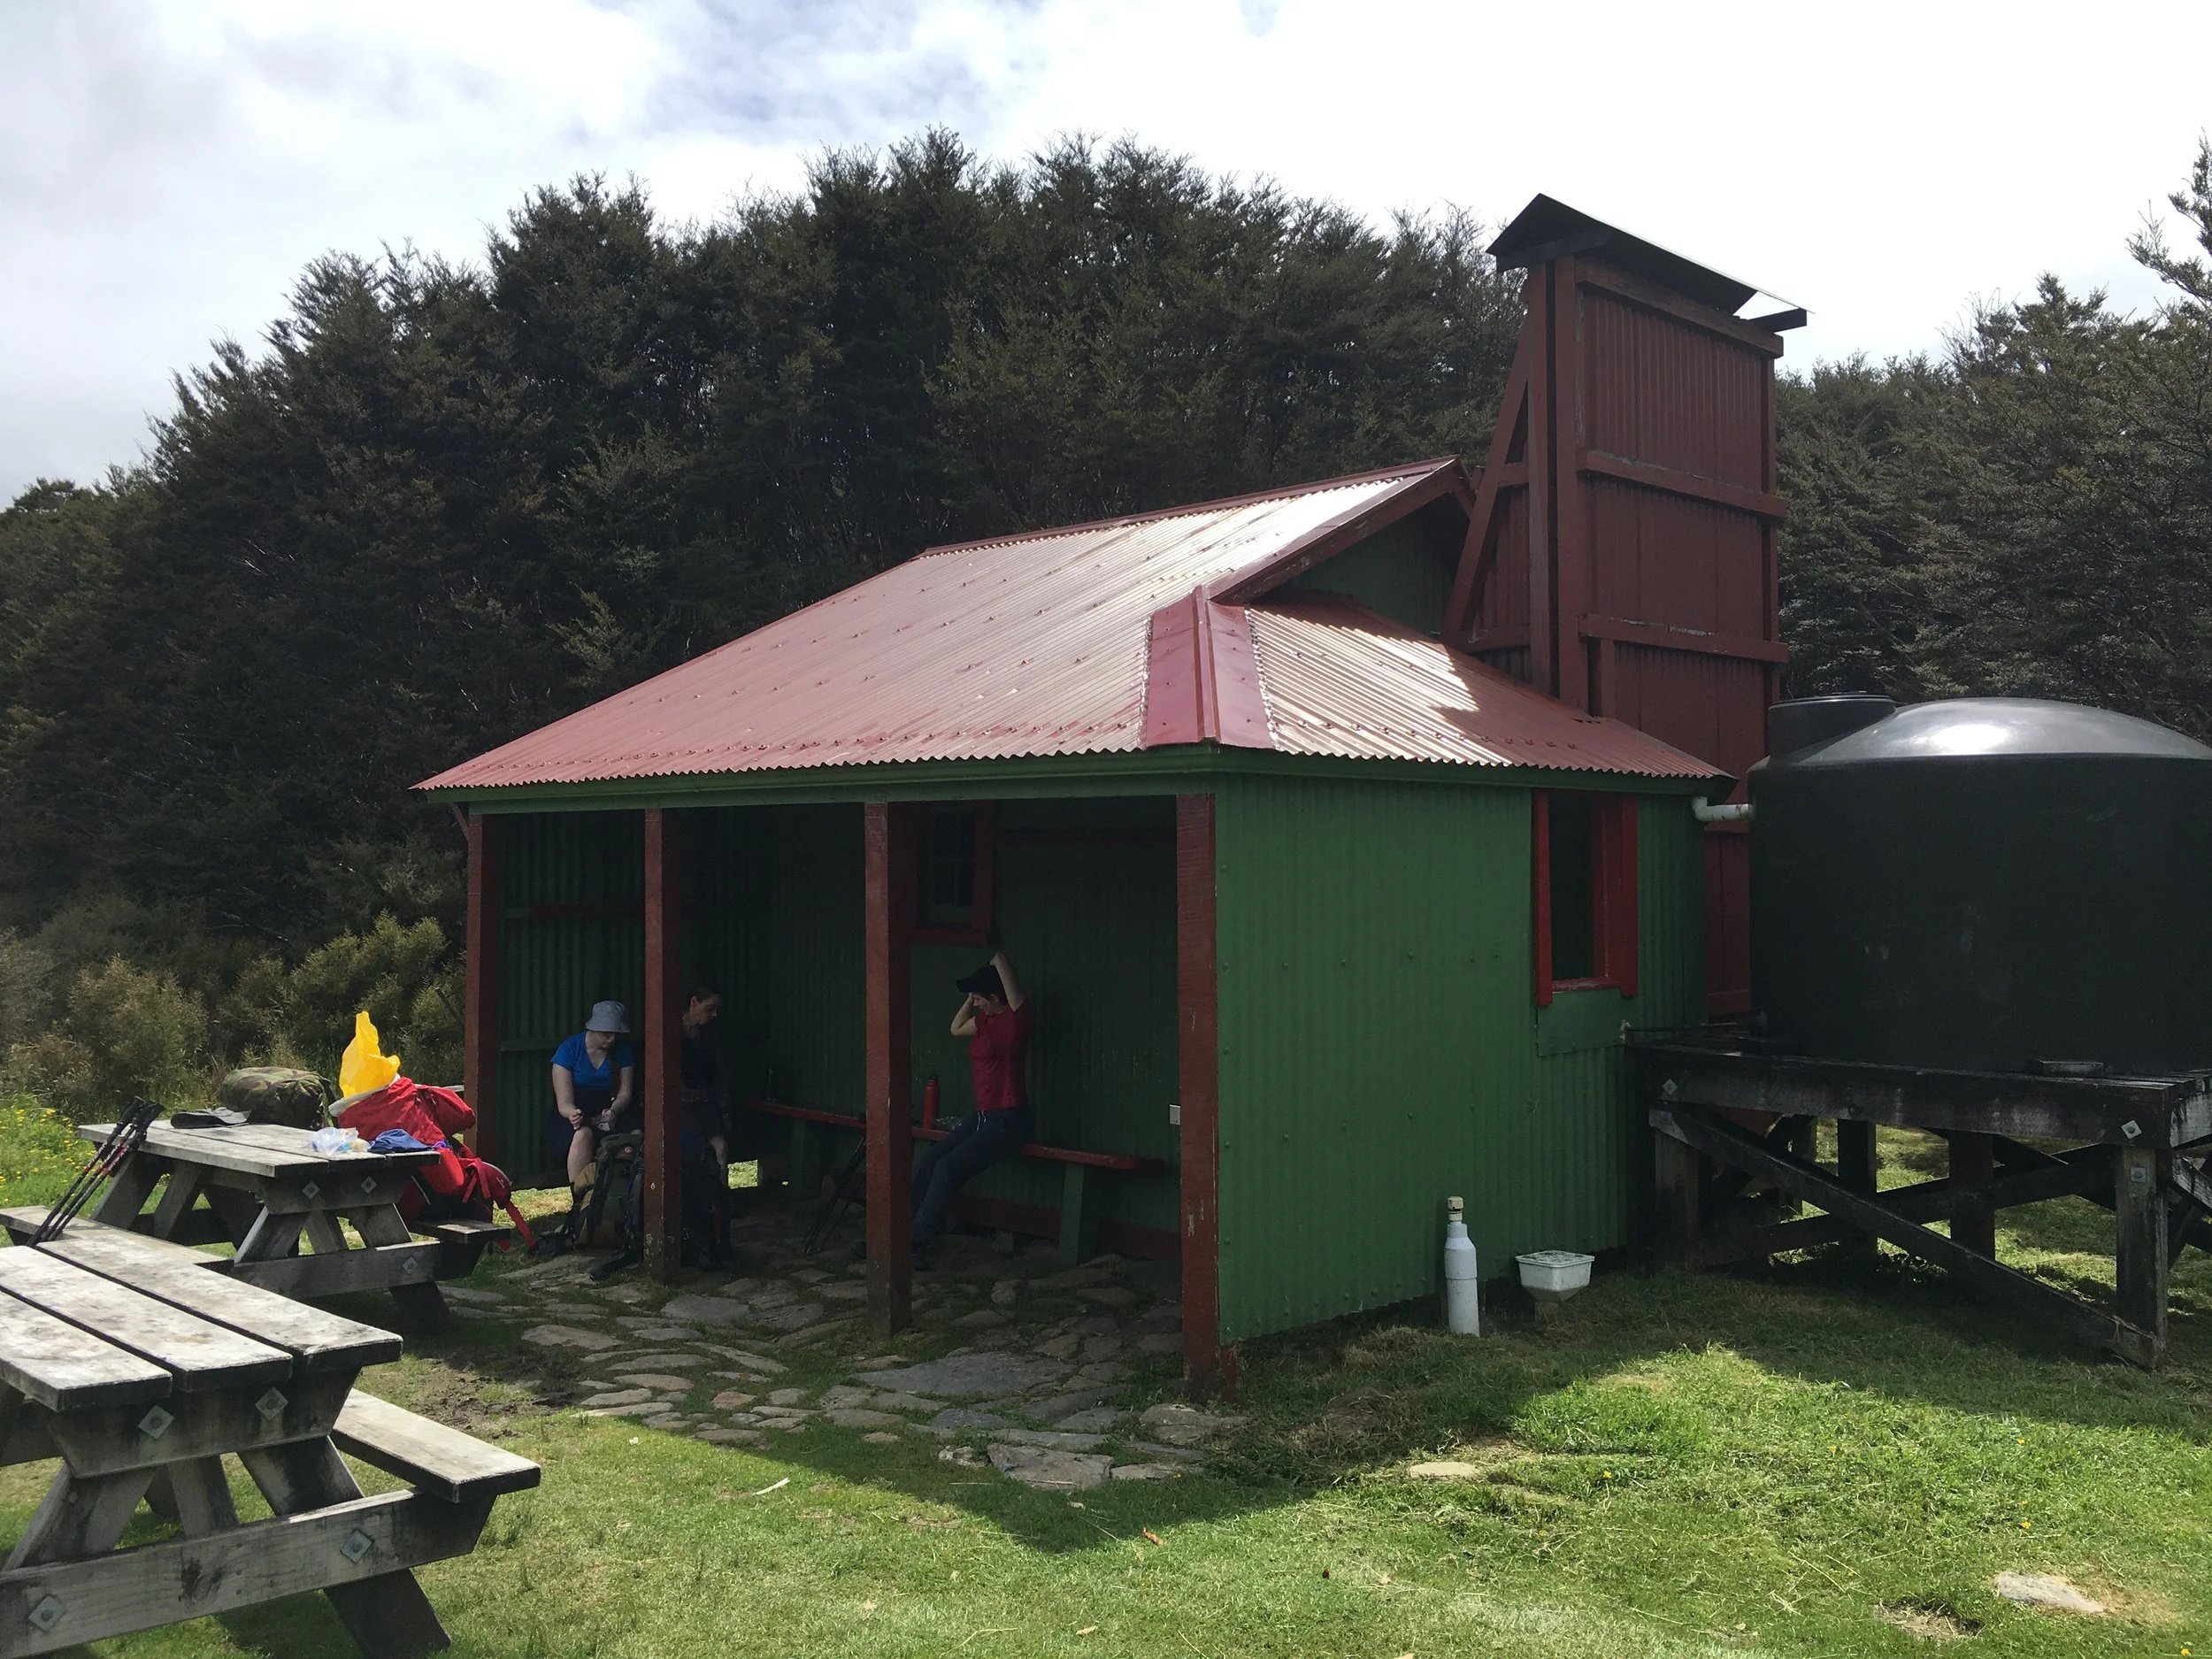
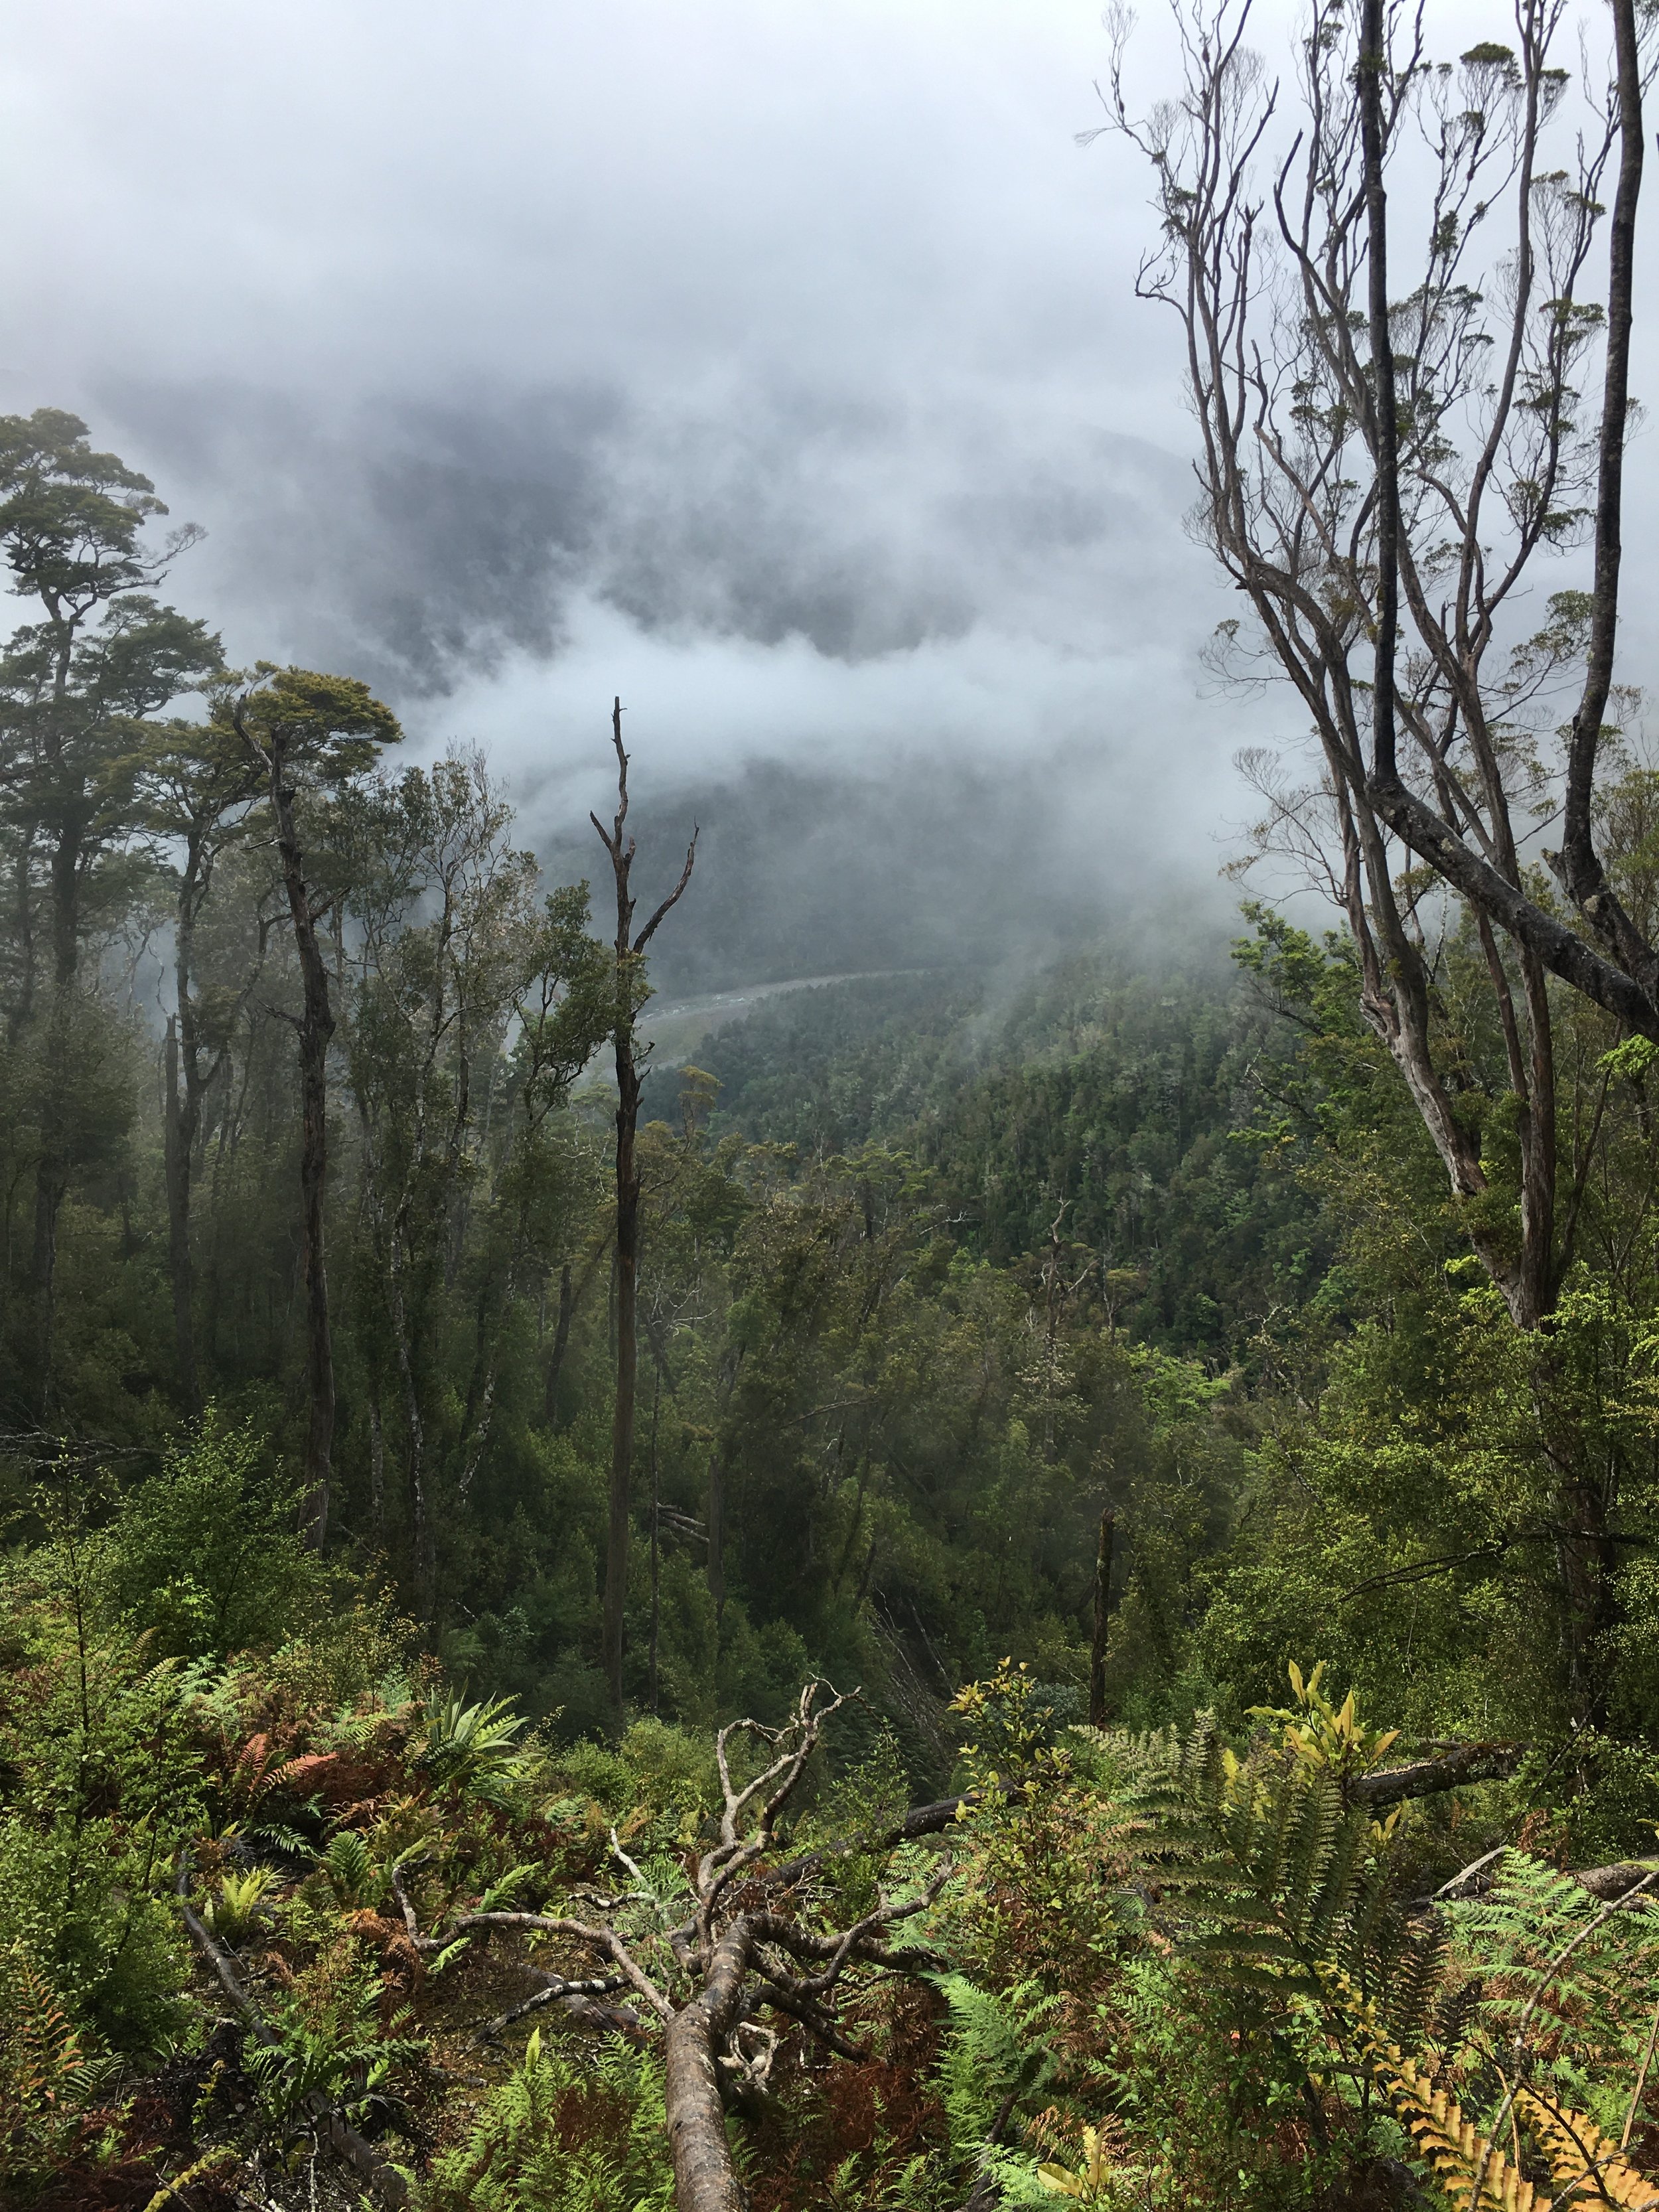
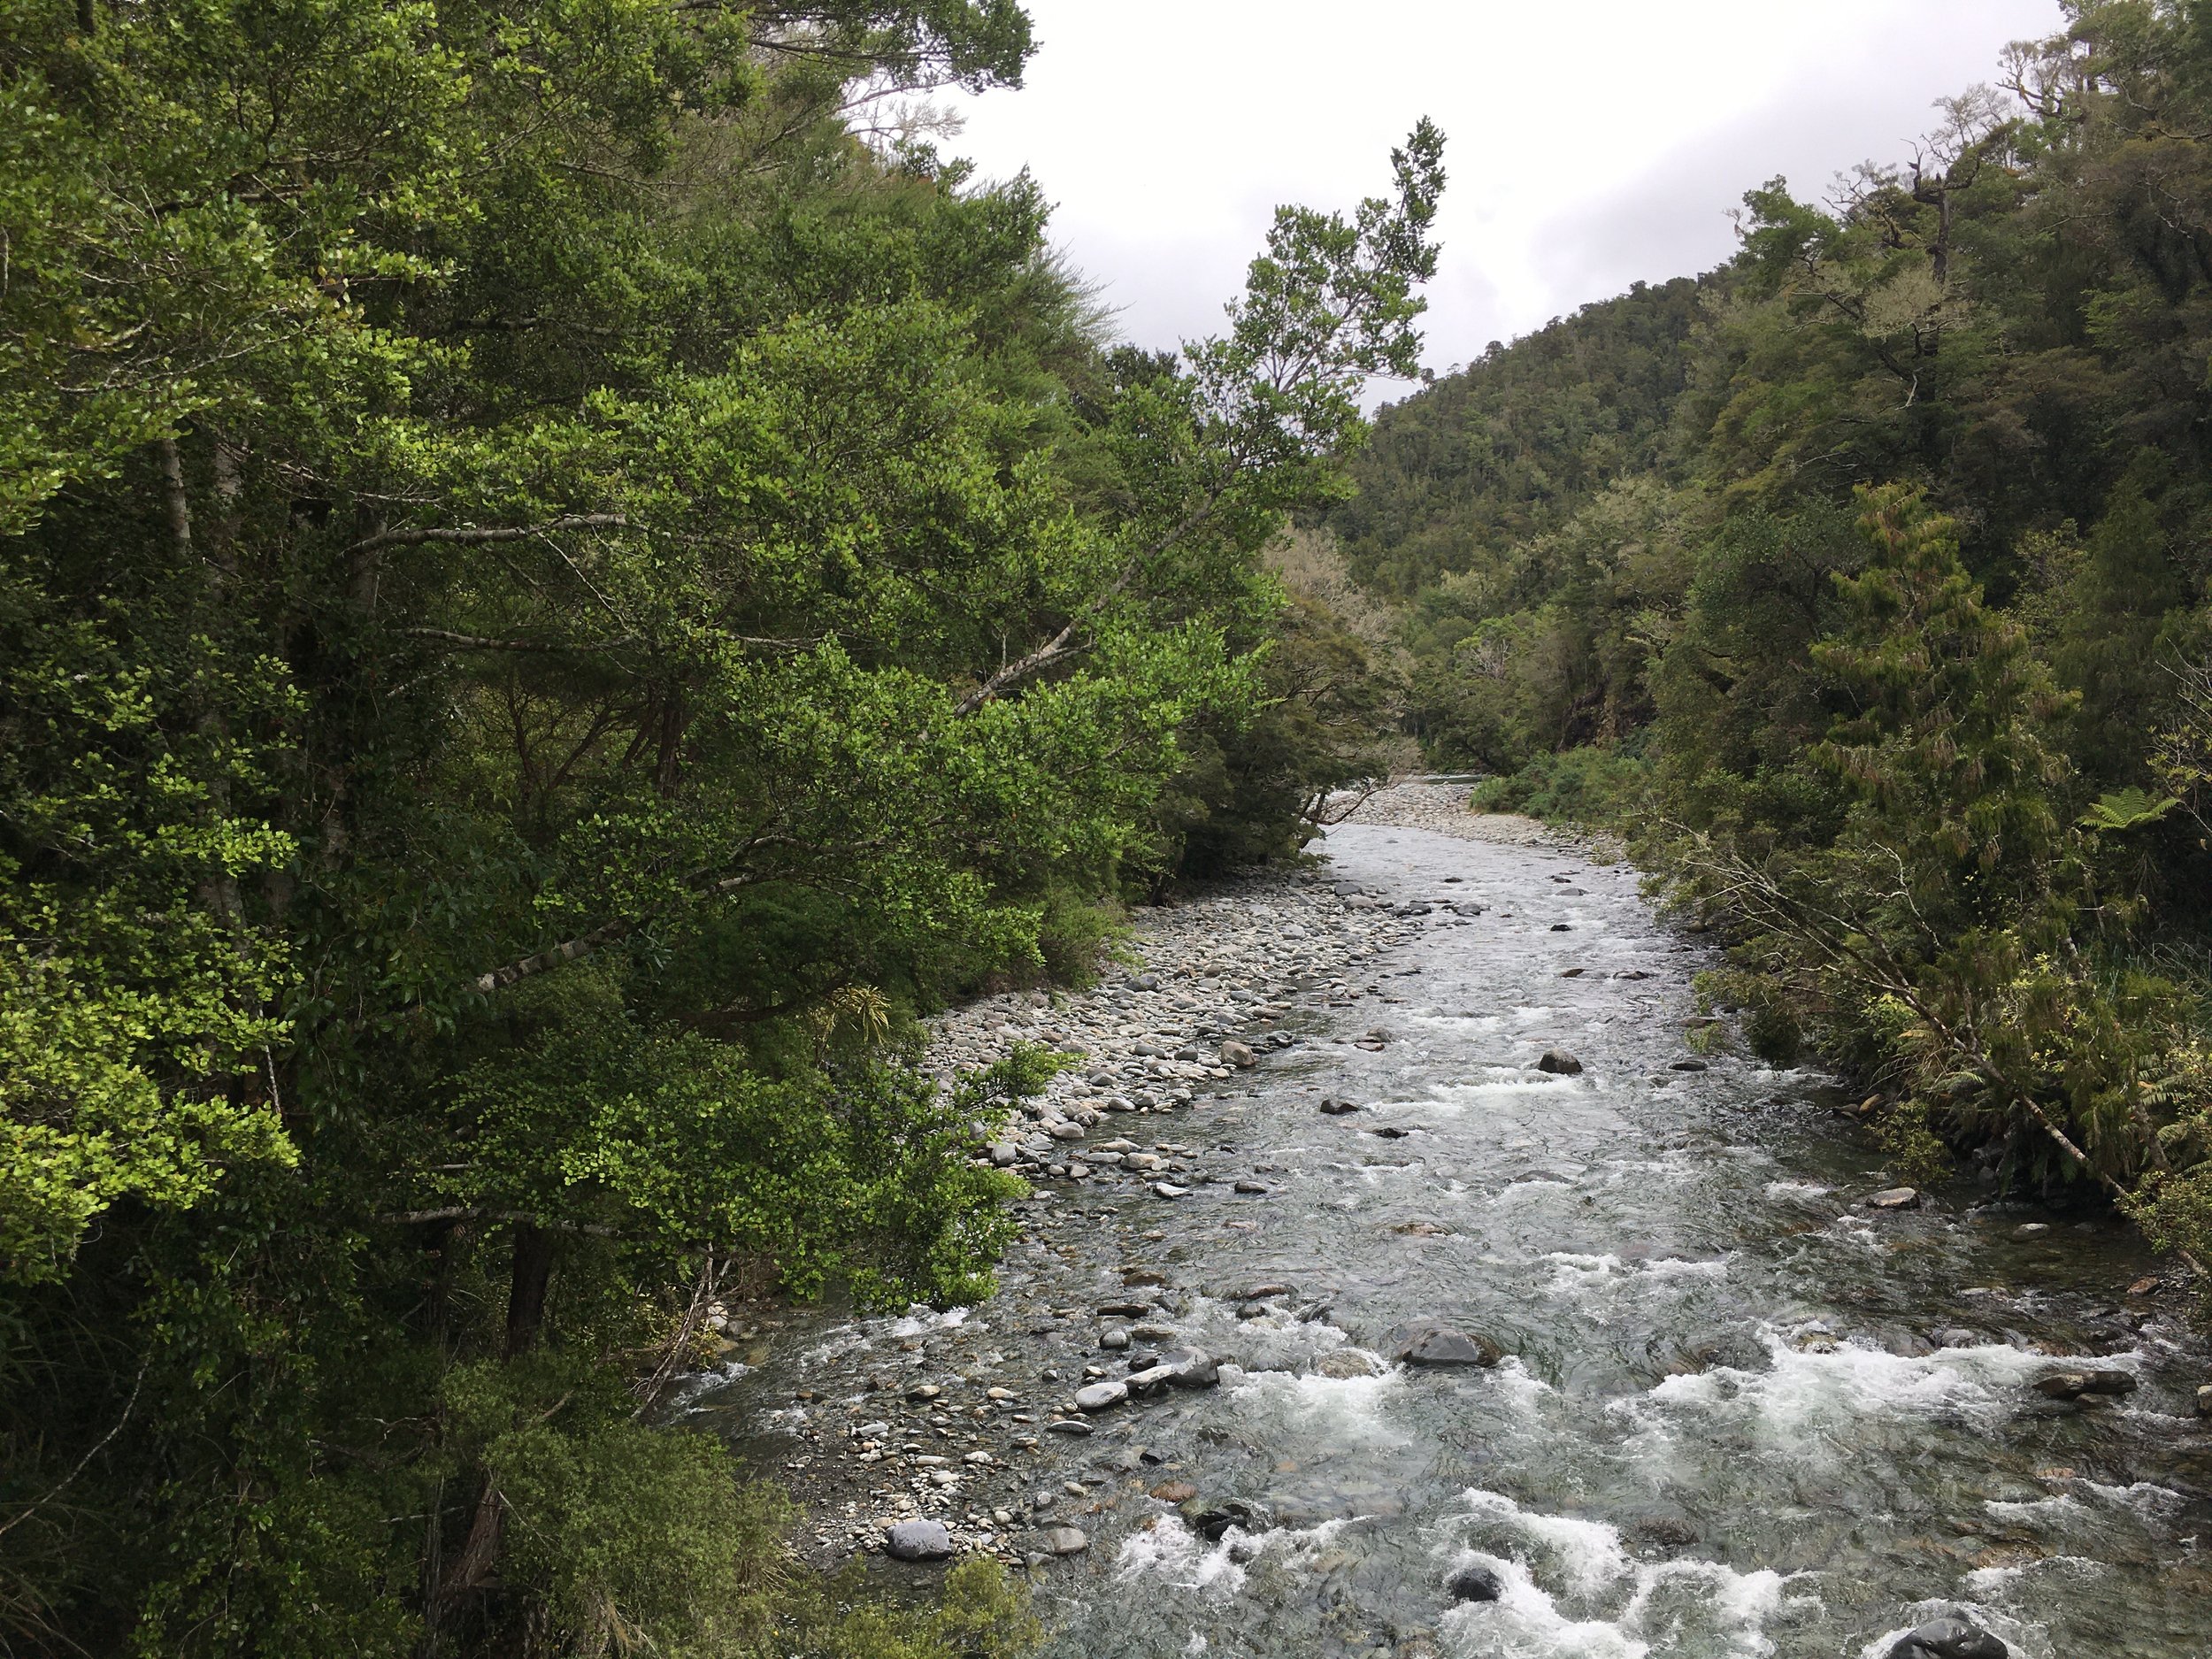
Highlights from Pauls Trek!


More Articles


Learn how to use a successful military planning framework to enhance your backpacking plans to ensure success, enjoyment, and safety.